Lip Balm Holder keychain video tutorial with printable tags
I was so excited to be attending my first “Sunday Swap.” If you’re not familiar with a “Sunday Swap” (aka “Maker Swap,” “Saturday Swap,” “Crafter Swap,” etc.) it’s a time and place where crafty folks get together to swap items each one has made (think "cookie swap" but for crafts/handmade goods). For this particular swap, we have to bring 20 identical handmade items. Since my thing is "crochet 😉," I began looking for ideas and inspiration but couldn’t find too much at the time, to my surprise; I found mostly coasters. As much as I love a good old fashioned crochet coaster, I wanted to offer something different. Since I was making 20 items, I was looking for a quick (no more than 10 - 15 minutes to make) and easy pattern that was also functional. I came across my Easy Mini Pouch and Lip Balm Holder pattern and used it as inspiration for this revised version, which uses a keychain (since I already had some on hand).
To take things up a notch, I was thinking of how when I was either gifted cookies (or baked good) or when I had gifted baked goods, myself, and a copy of the recipe would be included; I wanted to take that idea and apply it to these lip balm holders, which was what lead to this video tutorial :D and printable tags. The tags include the link and QR code to this very pattern and tutorial (NOTE: The printable insert Lip Balm Holder Display Tags are available in my shops).
Overall, the main goal of this is to spread some crochet-inspiration to others. I hope you enjoy and please feel free to leave a comment!\
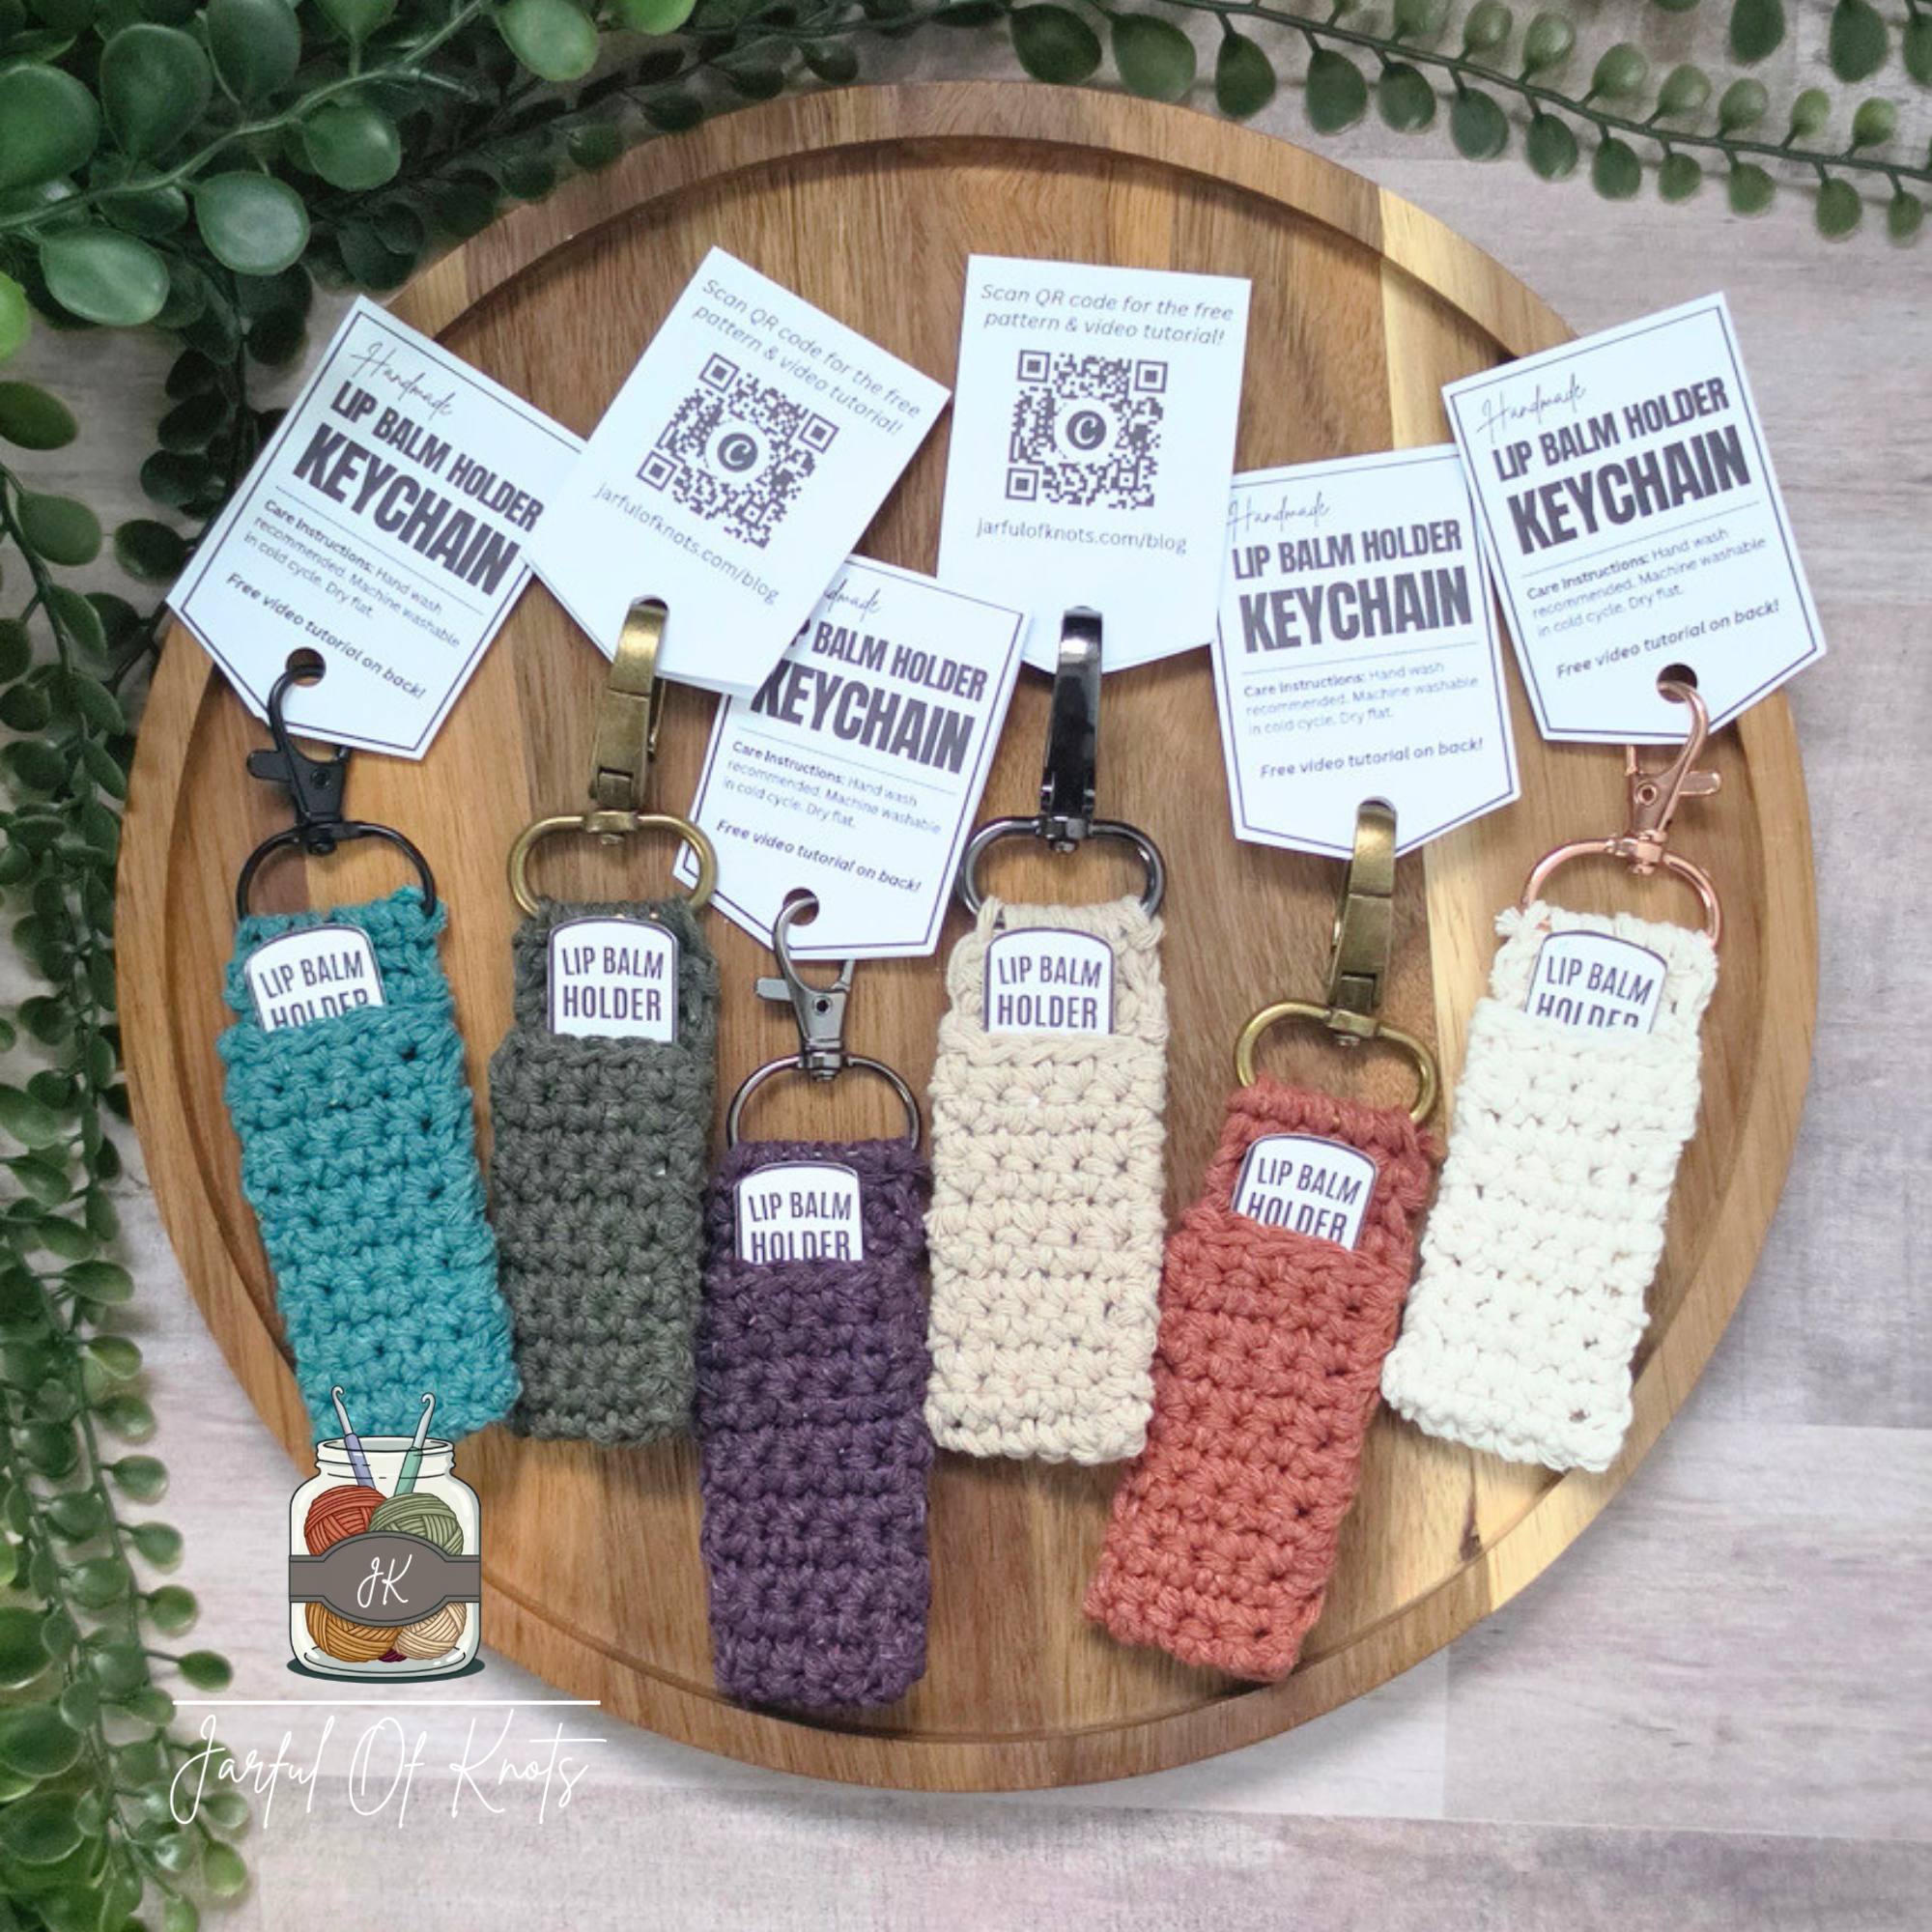
Crochet Idea for Your Next Maker Swap: Lip Balm Holder Keychains
Here is a cute, functional, and quick pattern for your next Sunday/Maker/Crafter/Saturday Swap, a lip balm holder keychain. Get the FREE video tutorial below along with the free printable display tags that include a link to the full video tutorial.
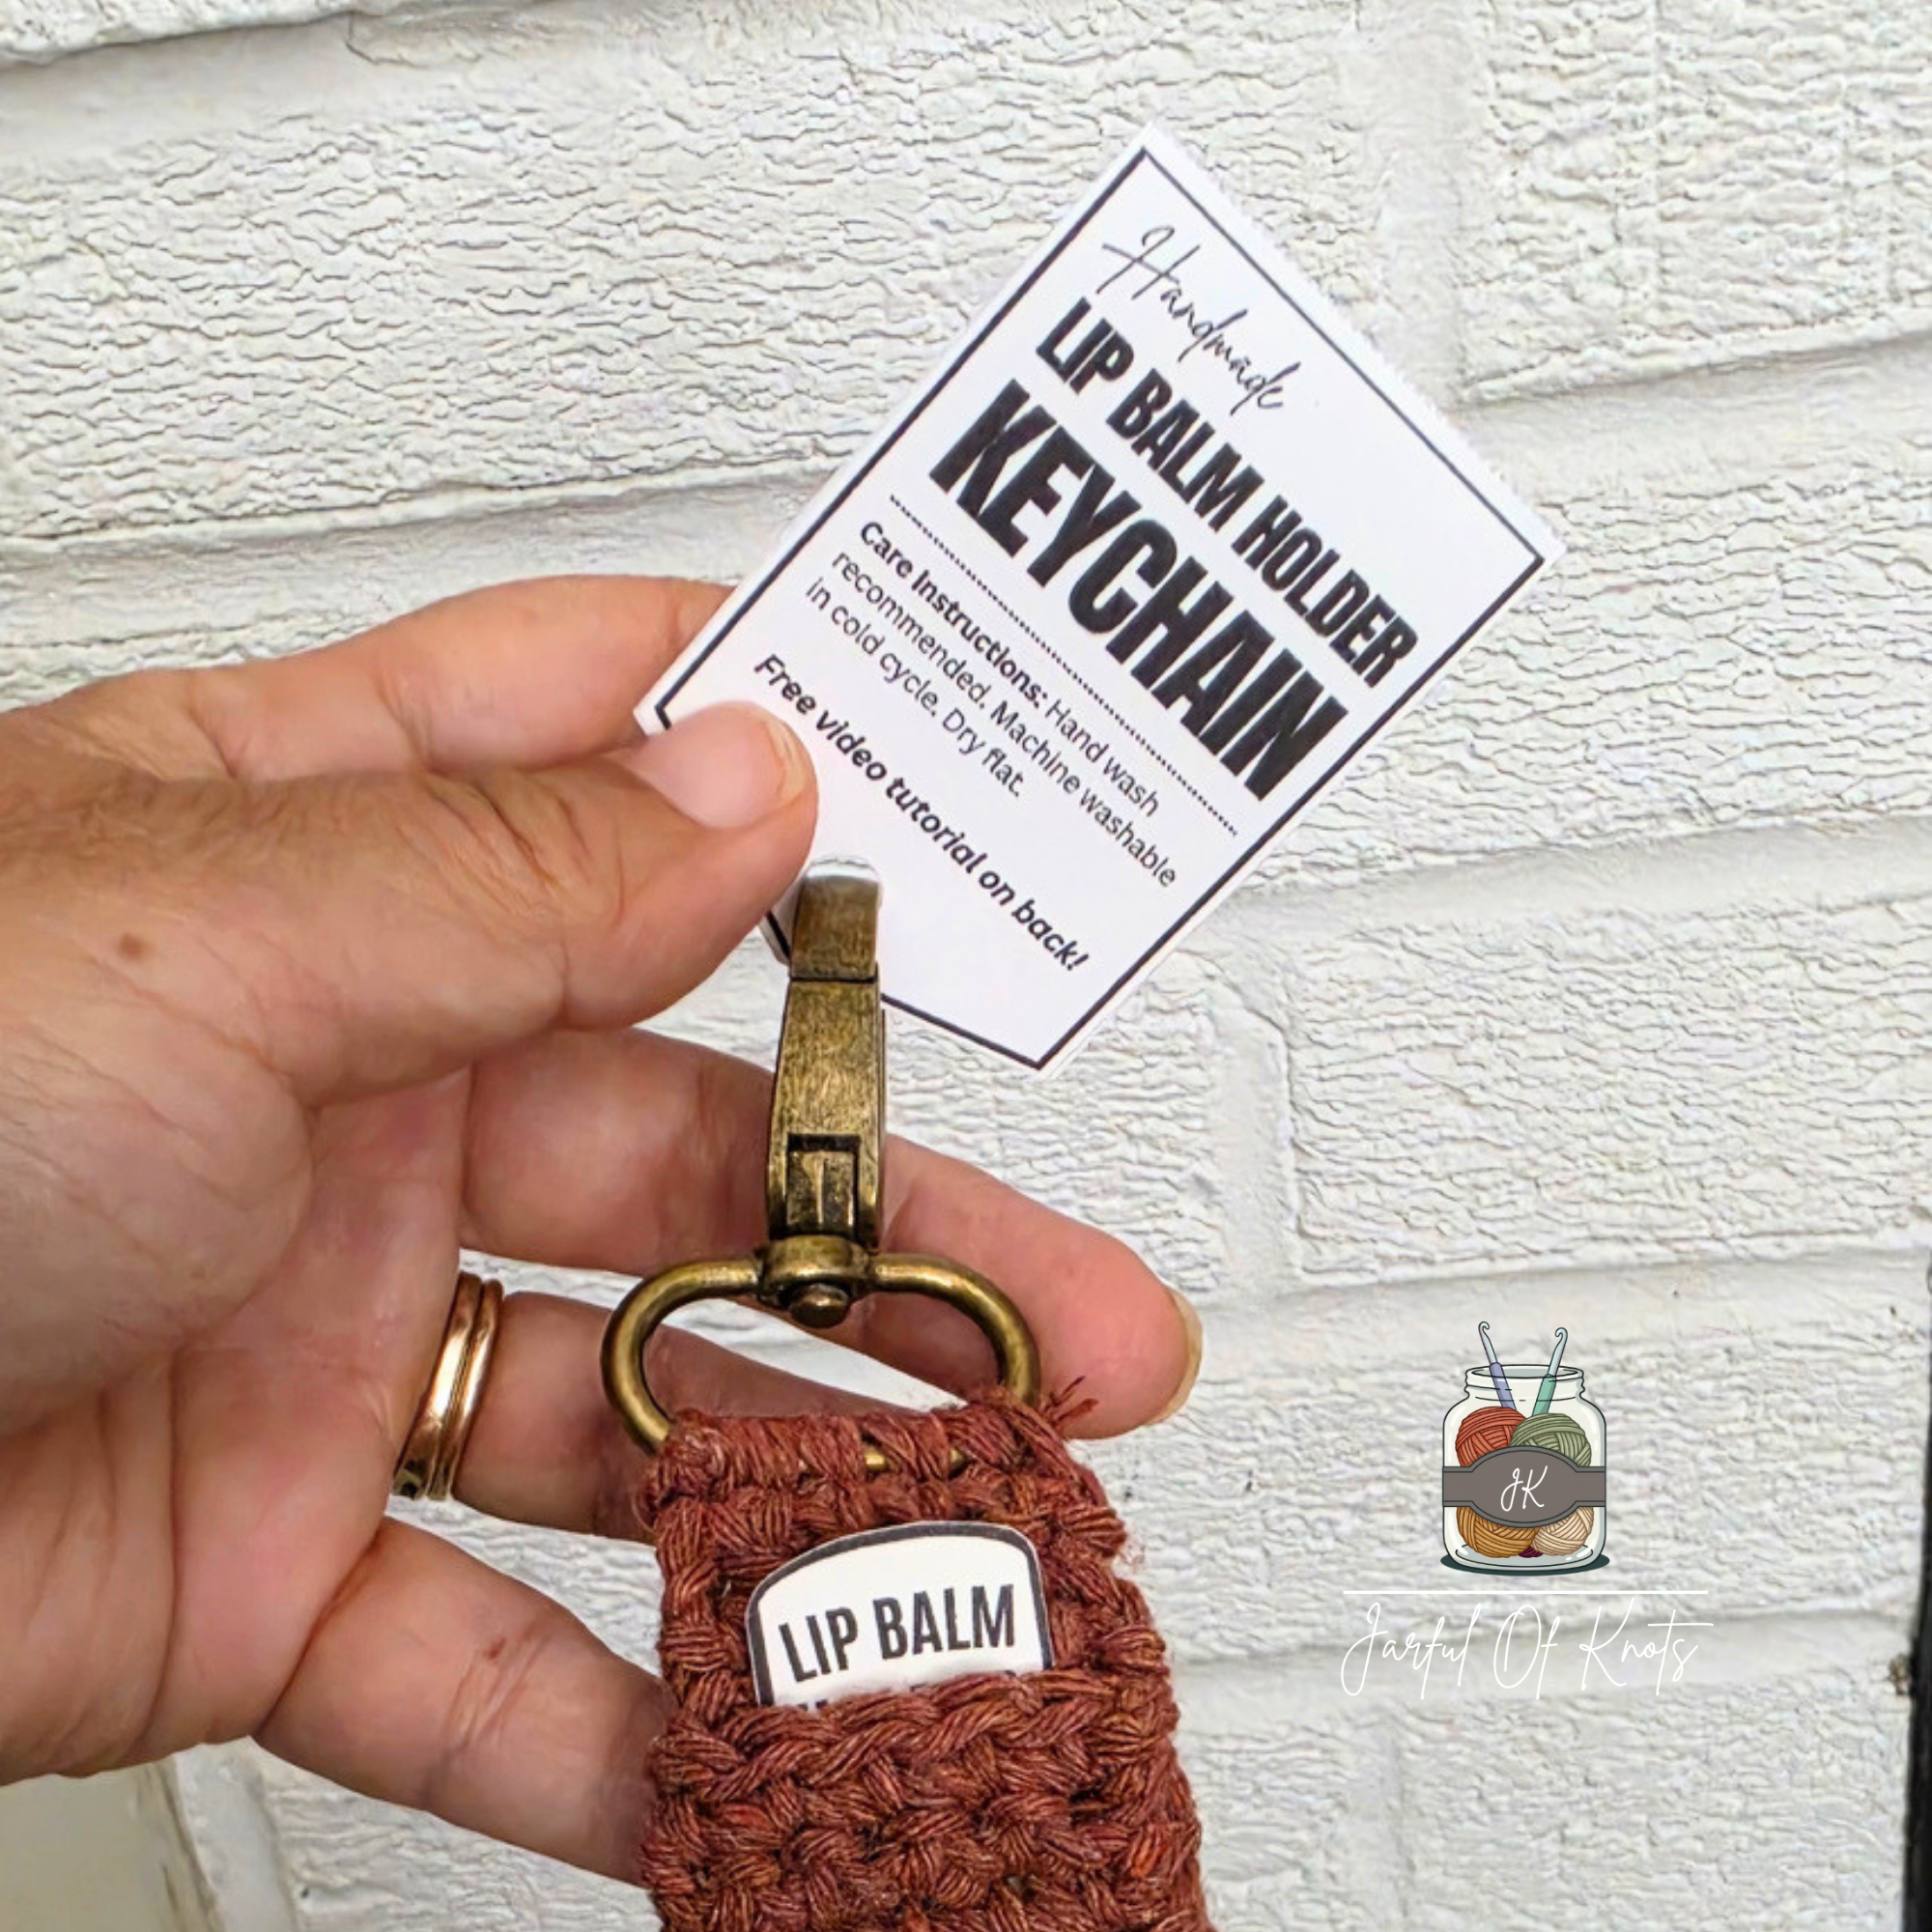
FREE Printable Lip Balm Holder Keychain Tags
Elevate your finished lip balm holders with my FREE printable Lip Balm Holder Keychain tags! They are ready to print and cut. Each tag includes general care instructions on the font side; the back of each tag has the QR code and link to this page for the free pattern, video tutorial, and tags.
NOTE: The printable insert Lip Balm Holder Display Tags pictured, are available in my shop.
Lip Balm Holder Crochet Pattern Video Tutorial
Level: Beginner-friendly
Finished Dimensions (includes keychain): 4.5” long x 1.25” wide
Recommended Supplies (includes affiliate links):
I am using Lionbrand Re-Up Cotton Bundle
NOTE: This yarn tends to run thinner than the typical medium weight #4 yarns
Scissors
Yarn Needle
25mm (1”) Lobster Claw Clasp, Oval Ring, or Swivel Lobster Clasp
Optional:
Free Printable Lip Balm Holder Keychain Tags
I recommend printing the tags on cardstock
Standard Hole Puncher
Printable Insert Tags from Printable Lip Balm Holder Display Tags Bundle
Abbreviations Used:
CH = Chain
SC = Single Crochet
SL ST = Slip Stitch
ST or STS = Stitch or Stitches
Pattern Notes:
This pattern is from the top to the bottom.
The fabric is folded ¾ of the way and the sides are sewn together.
The CH ST at the beginning of row does not count as a ST.
A comma (,) indicates to work in the next ST.
A "x#" indicates to work the indicated ST in each of the next X number of stitches; For example: “SC x5” = Work 1 single crochet in each of the next 5 stitches.
Lip Balm Holder Pattern
Begin: Work a slip knot.
Row 1: Insert hook into the D-ring of your keychain and pull up loop. SL ST + CH1. Working inside of D-ring, SC x5 across, turn (5).
Row 2: CH1, SC in first ST from hook, SC x4 across, turn (5).
Rows 3 to 24 (or until you have reached 6” long or desired length): Repeat row 2.
Assembly & Finish
Fasten off leaving a 16" to 18" strand.
For custom lengths, cut a strand that is equal to 1.5x the perimeter of your holder (crocheted portion only, folded).
Bring the last row worked to align with row 3.
Starting from the top and moving downward toward the fold, sew the sides together.
Weave your needle across the bottom of the holder until you reach the opposite side.
Working from the bottom towards the top, sew the remaining sides together.
Fasten off and weave in ends.
Attach Display Tag (optional):
Print the printable lip balm holder keychain tag onto cardstock (recommended).
Cut the tag along the solid gray line.
Fold the tag in half along the center dashed line.
Punch a hole at the bottom angle of tag.
Attach your keychain to the tag and your finished!
Lip Balm Holder Keychain Video Tutorial
No part of this digital file or pattern may be copied, altered, sold nor redistributed without written consent from the author. However, you may sell the finished products made from this pattern. Please give credit to @JarfulOfKnots as the author/designer and a link to my page: www.jarfulofknots.com; Please refer to our Terms of Service.