This page includes affiliate links.
My Yeti sleeve pattern has been “3 years” in the making, believe it or not! This pattern has gone through lots of revisions since it made it’s debut on my socials but “3rd time is a charm!”. It has now evolved into a 2-in-1 pattern that can be made into either an e-reader sleeve OR a plushie, either one works!
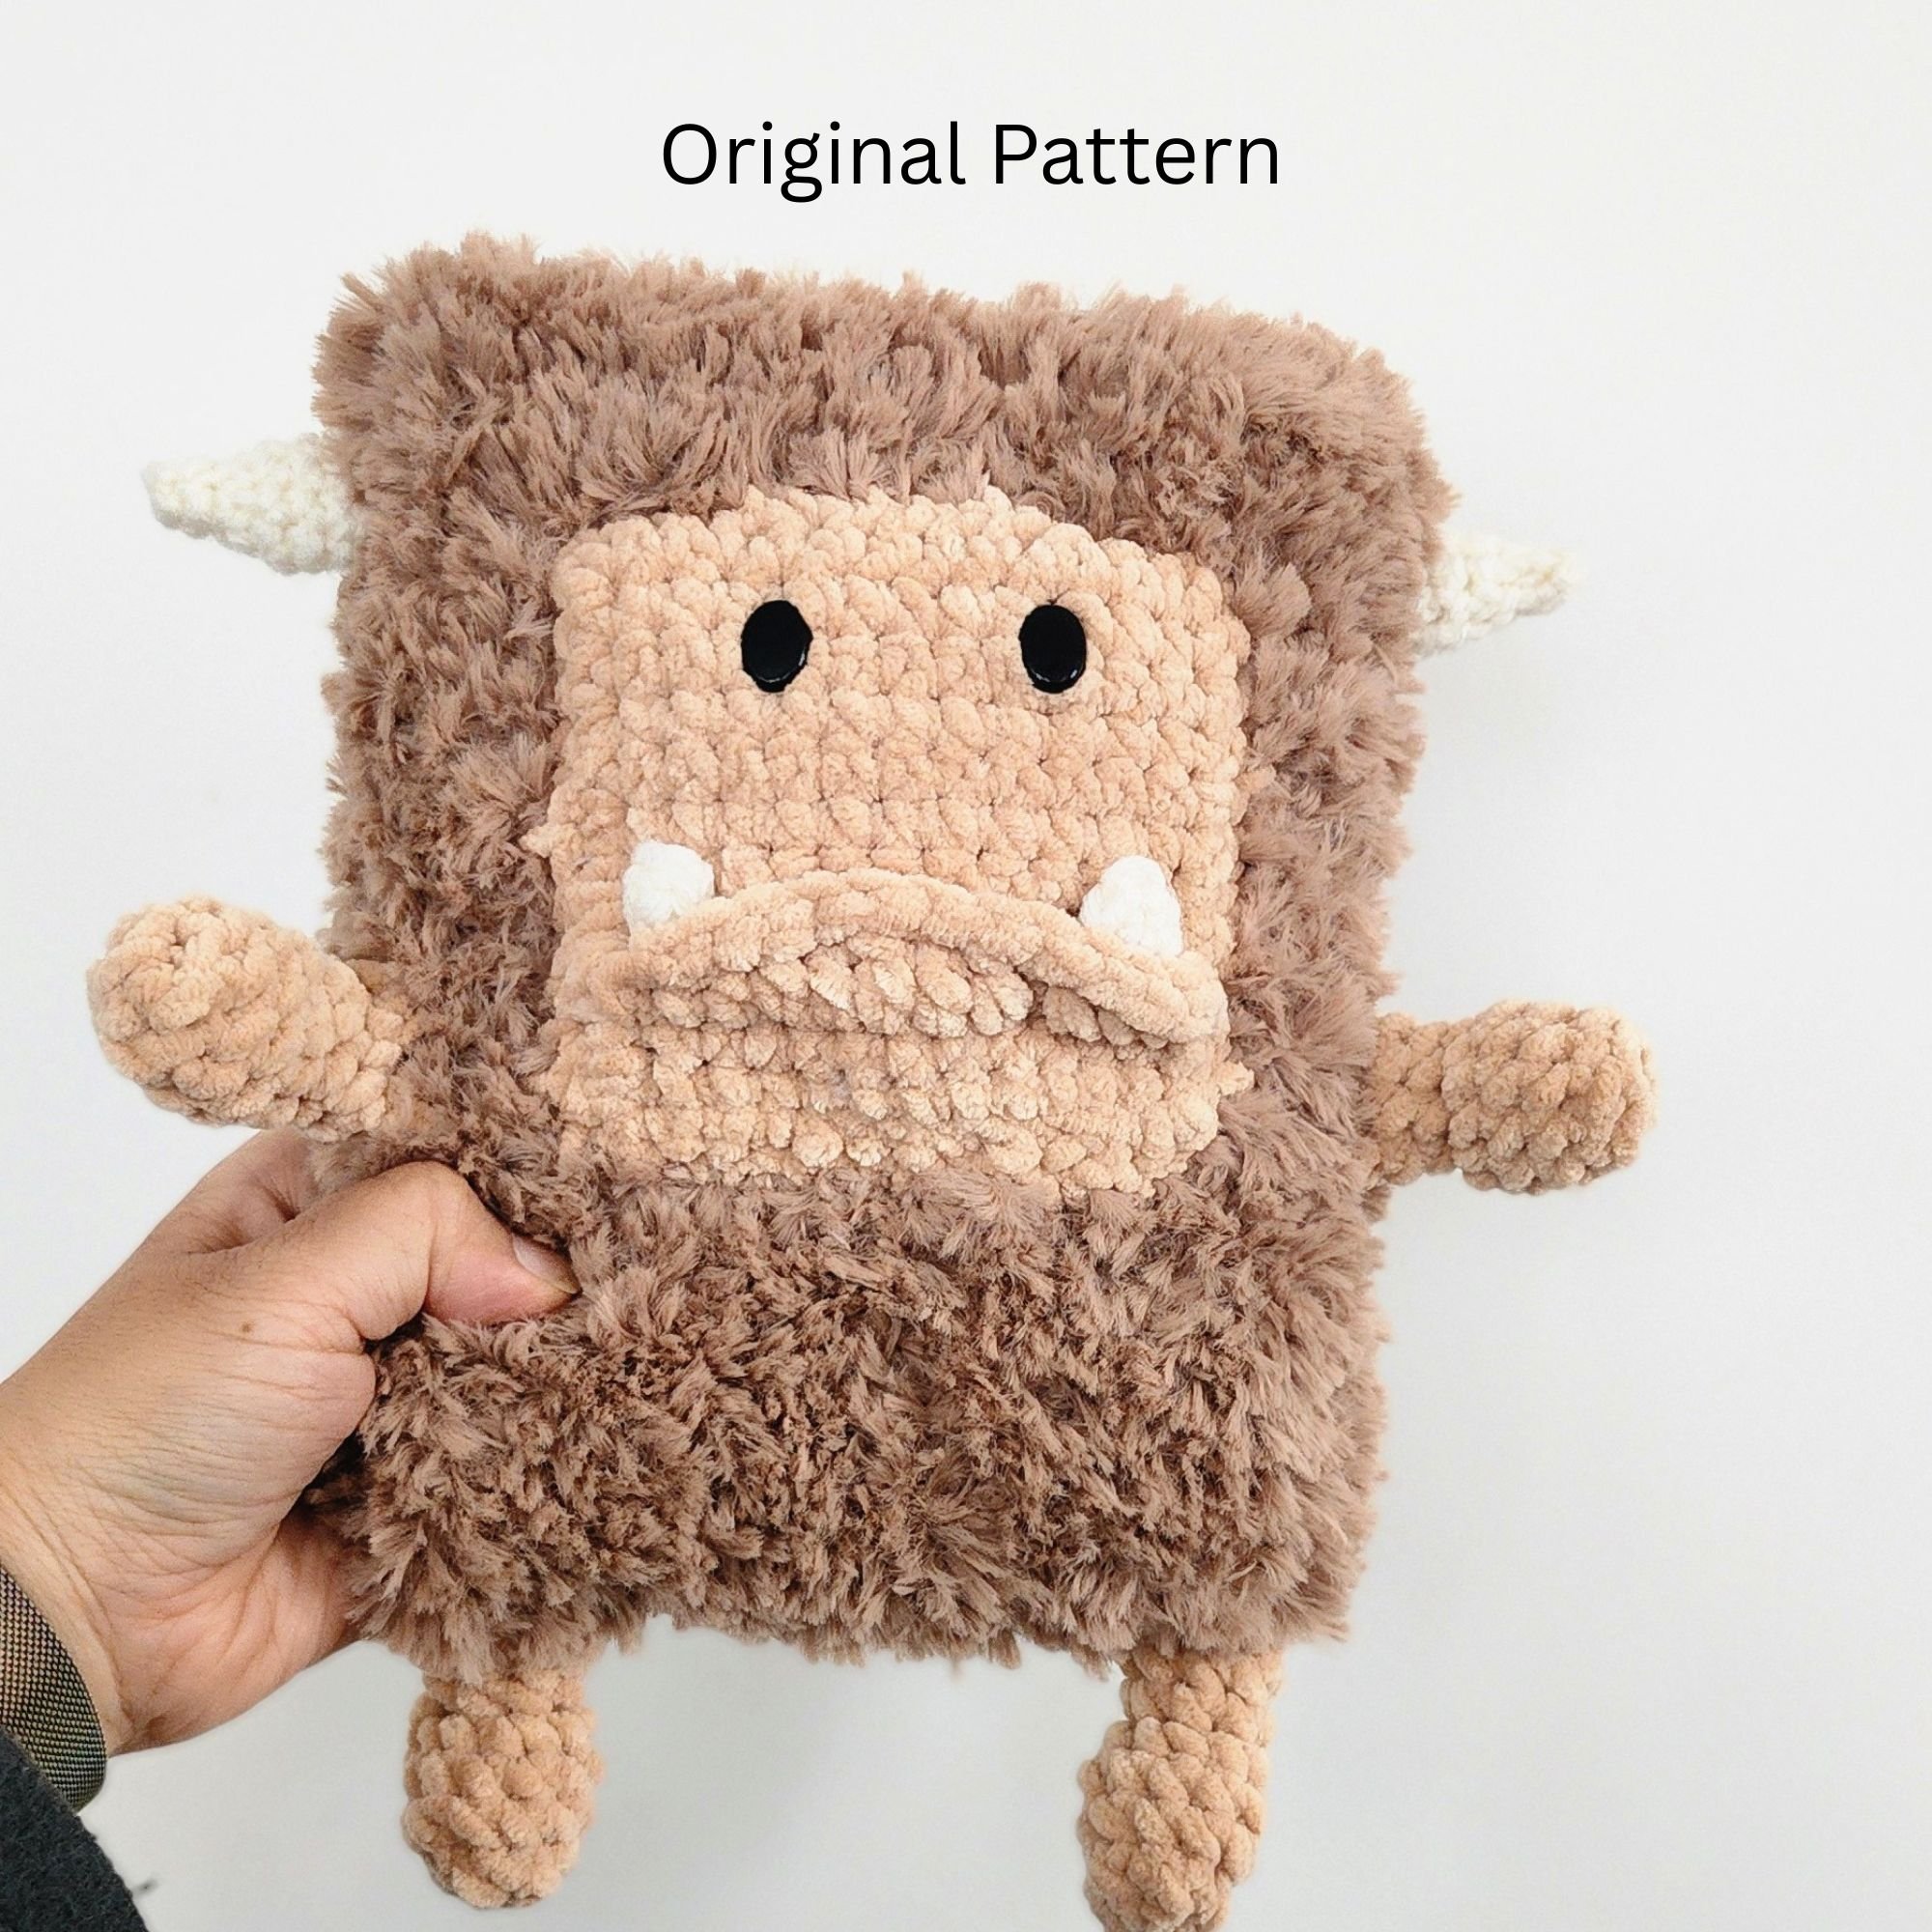
My original Yeti sleeve pattern & design was unsatisfactory…
Here is a flashback to my original Yeti Sleeve pattern and design. I loved the idea of using fur yarn for it after more consideration BUT I wasn’t satisfied with how the face (originally worked in rows) and the feet looked. I know the Yeti is an imaginary creature so the finished design was left to my imagination but something about this one just looked “unfinished” to me.
I eventually decided to put the pattern on the back burner until I could come up with a better design.
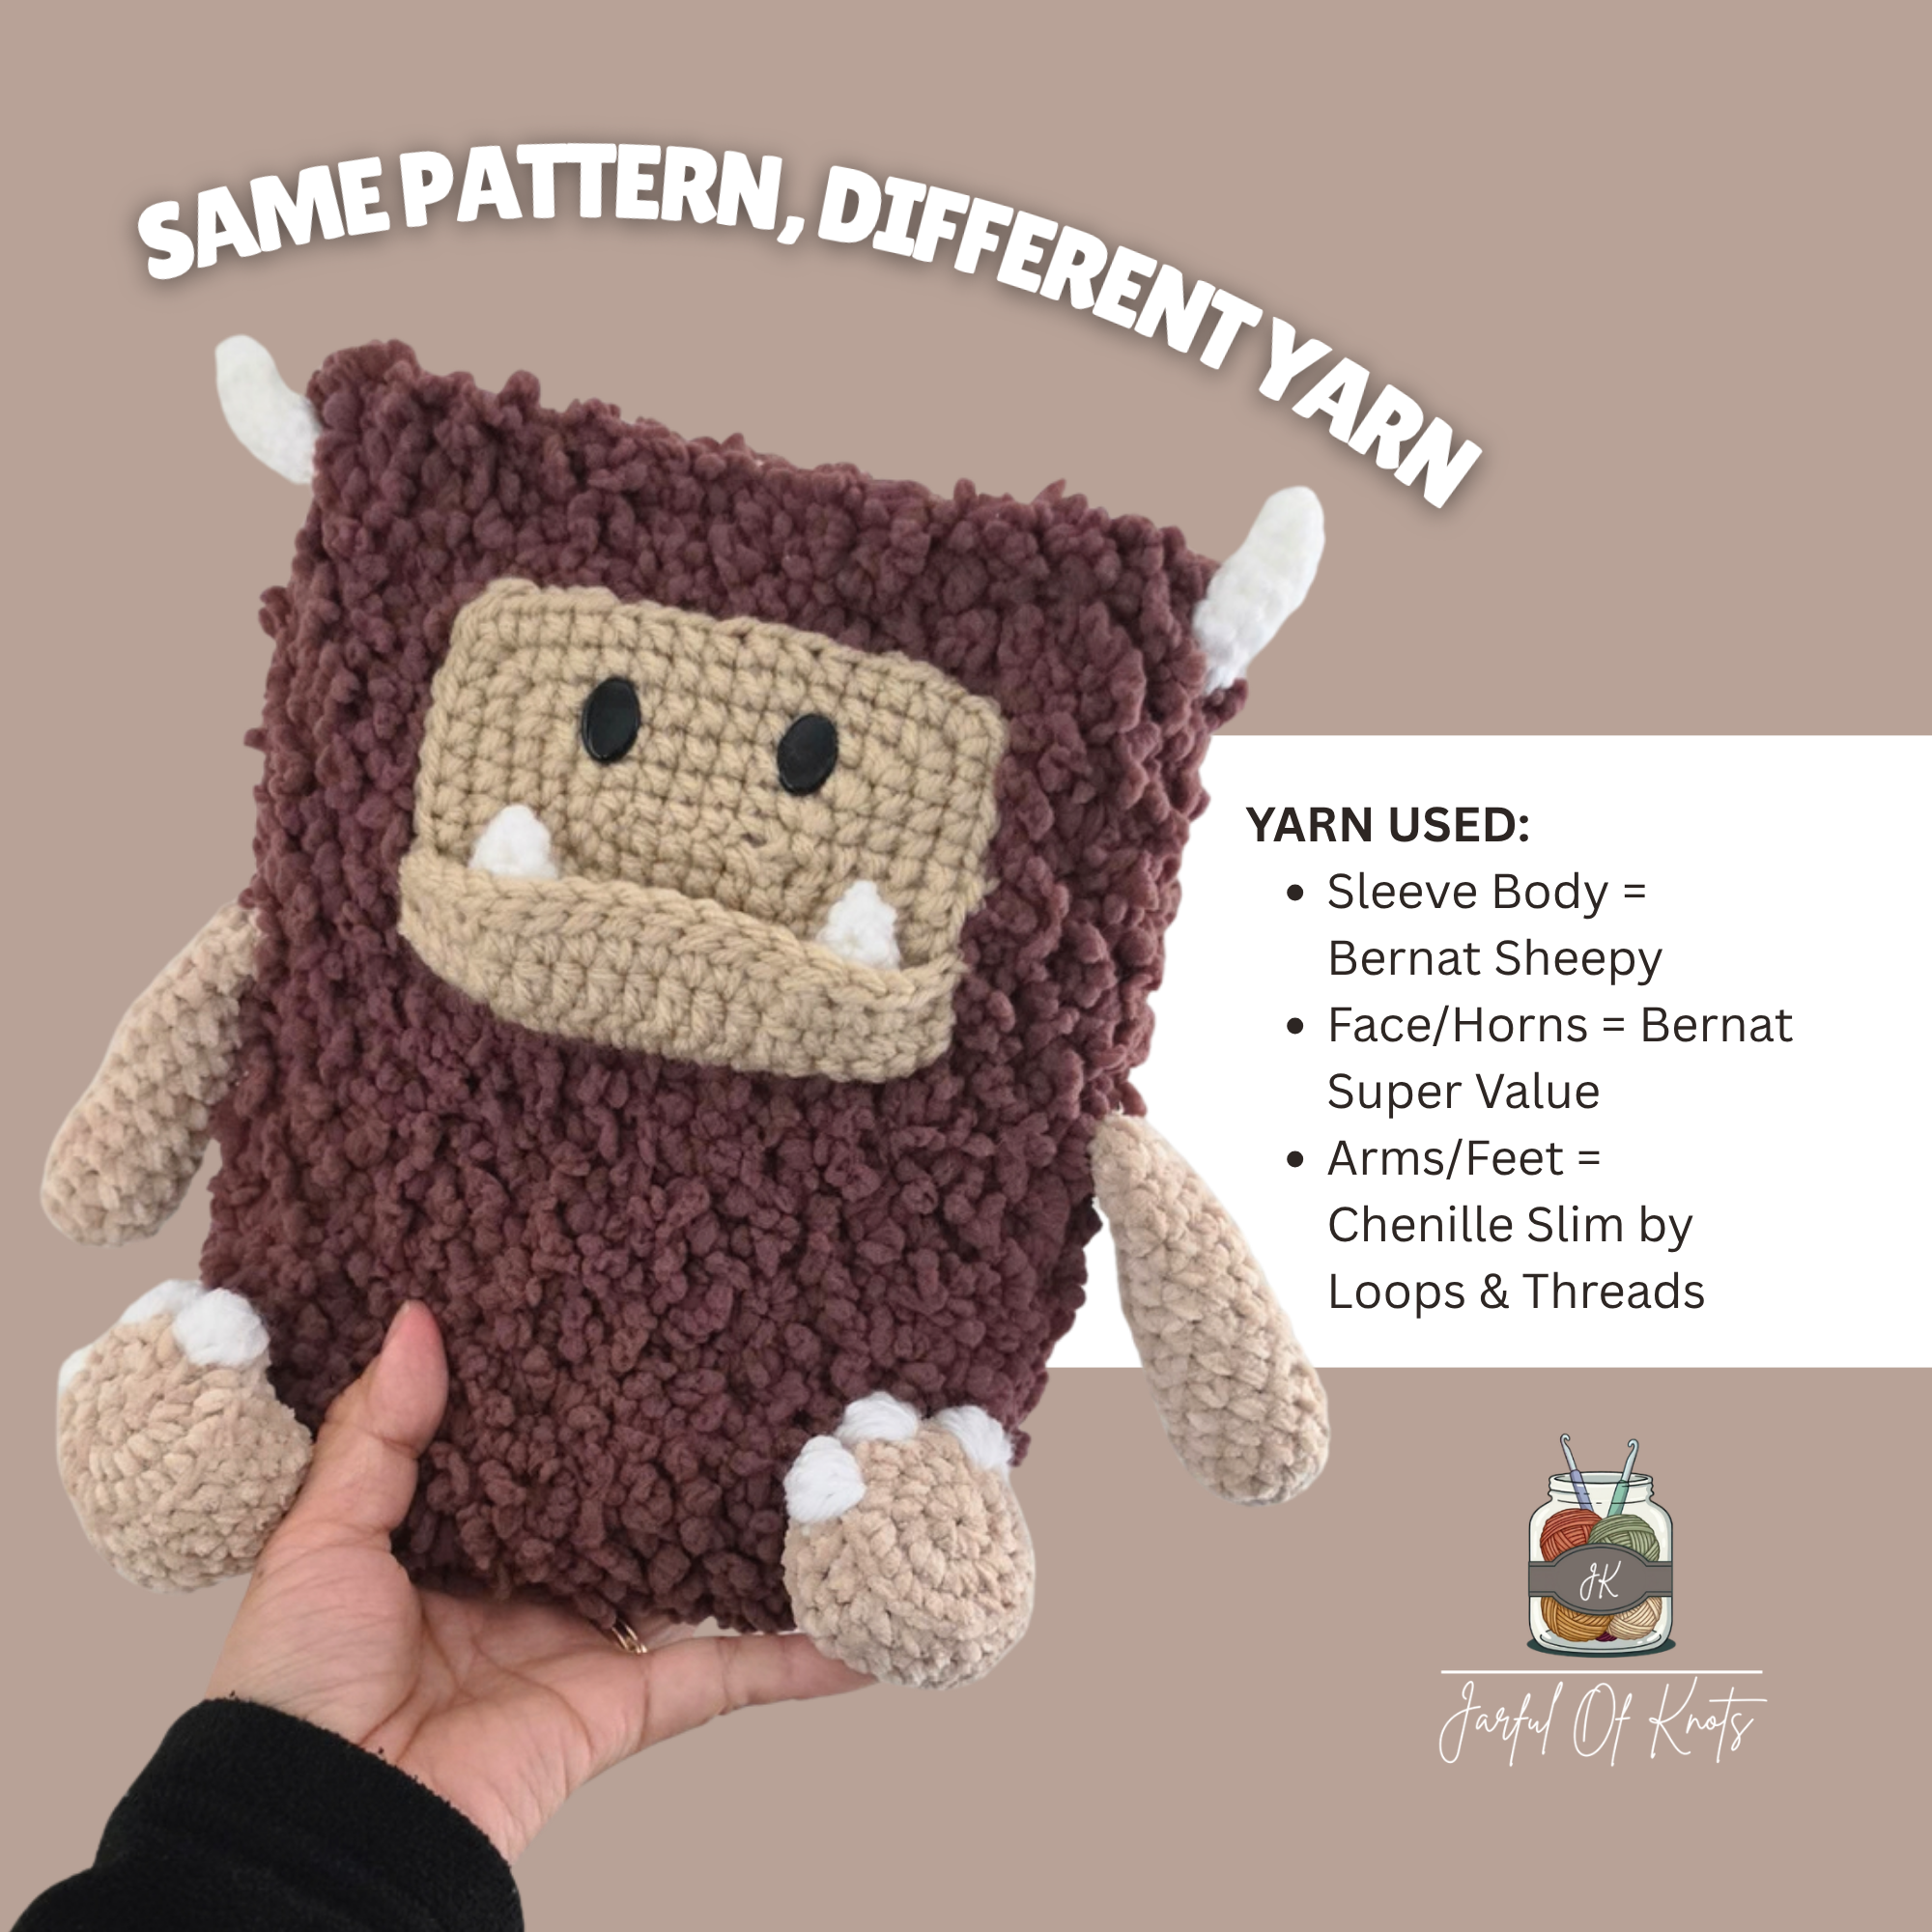
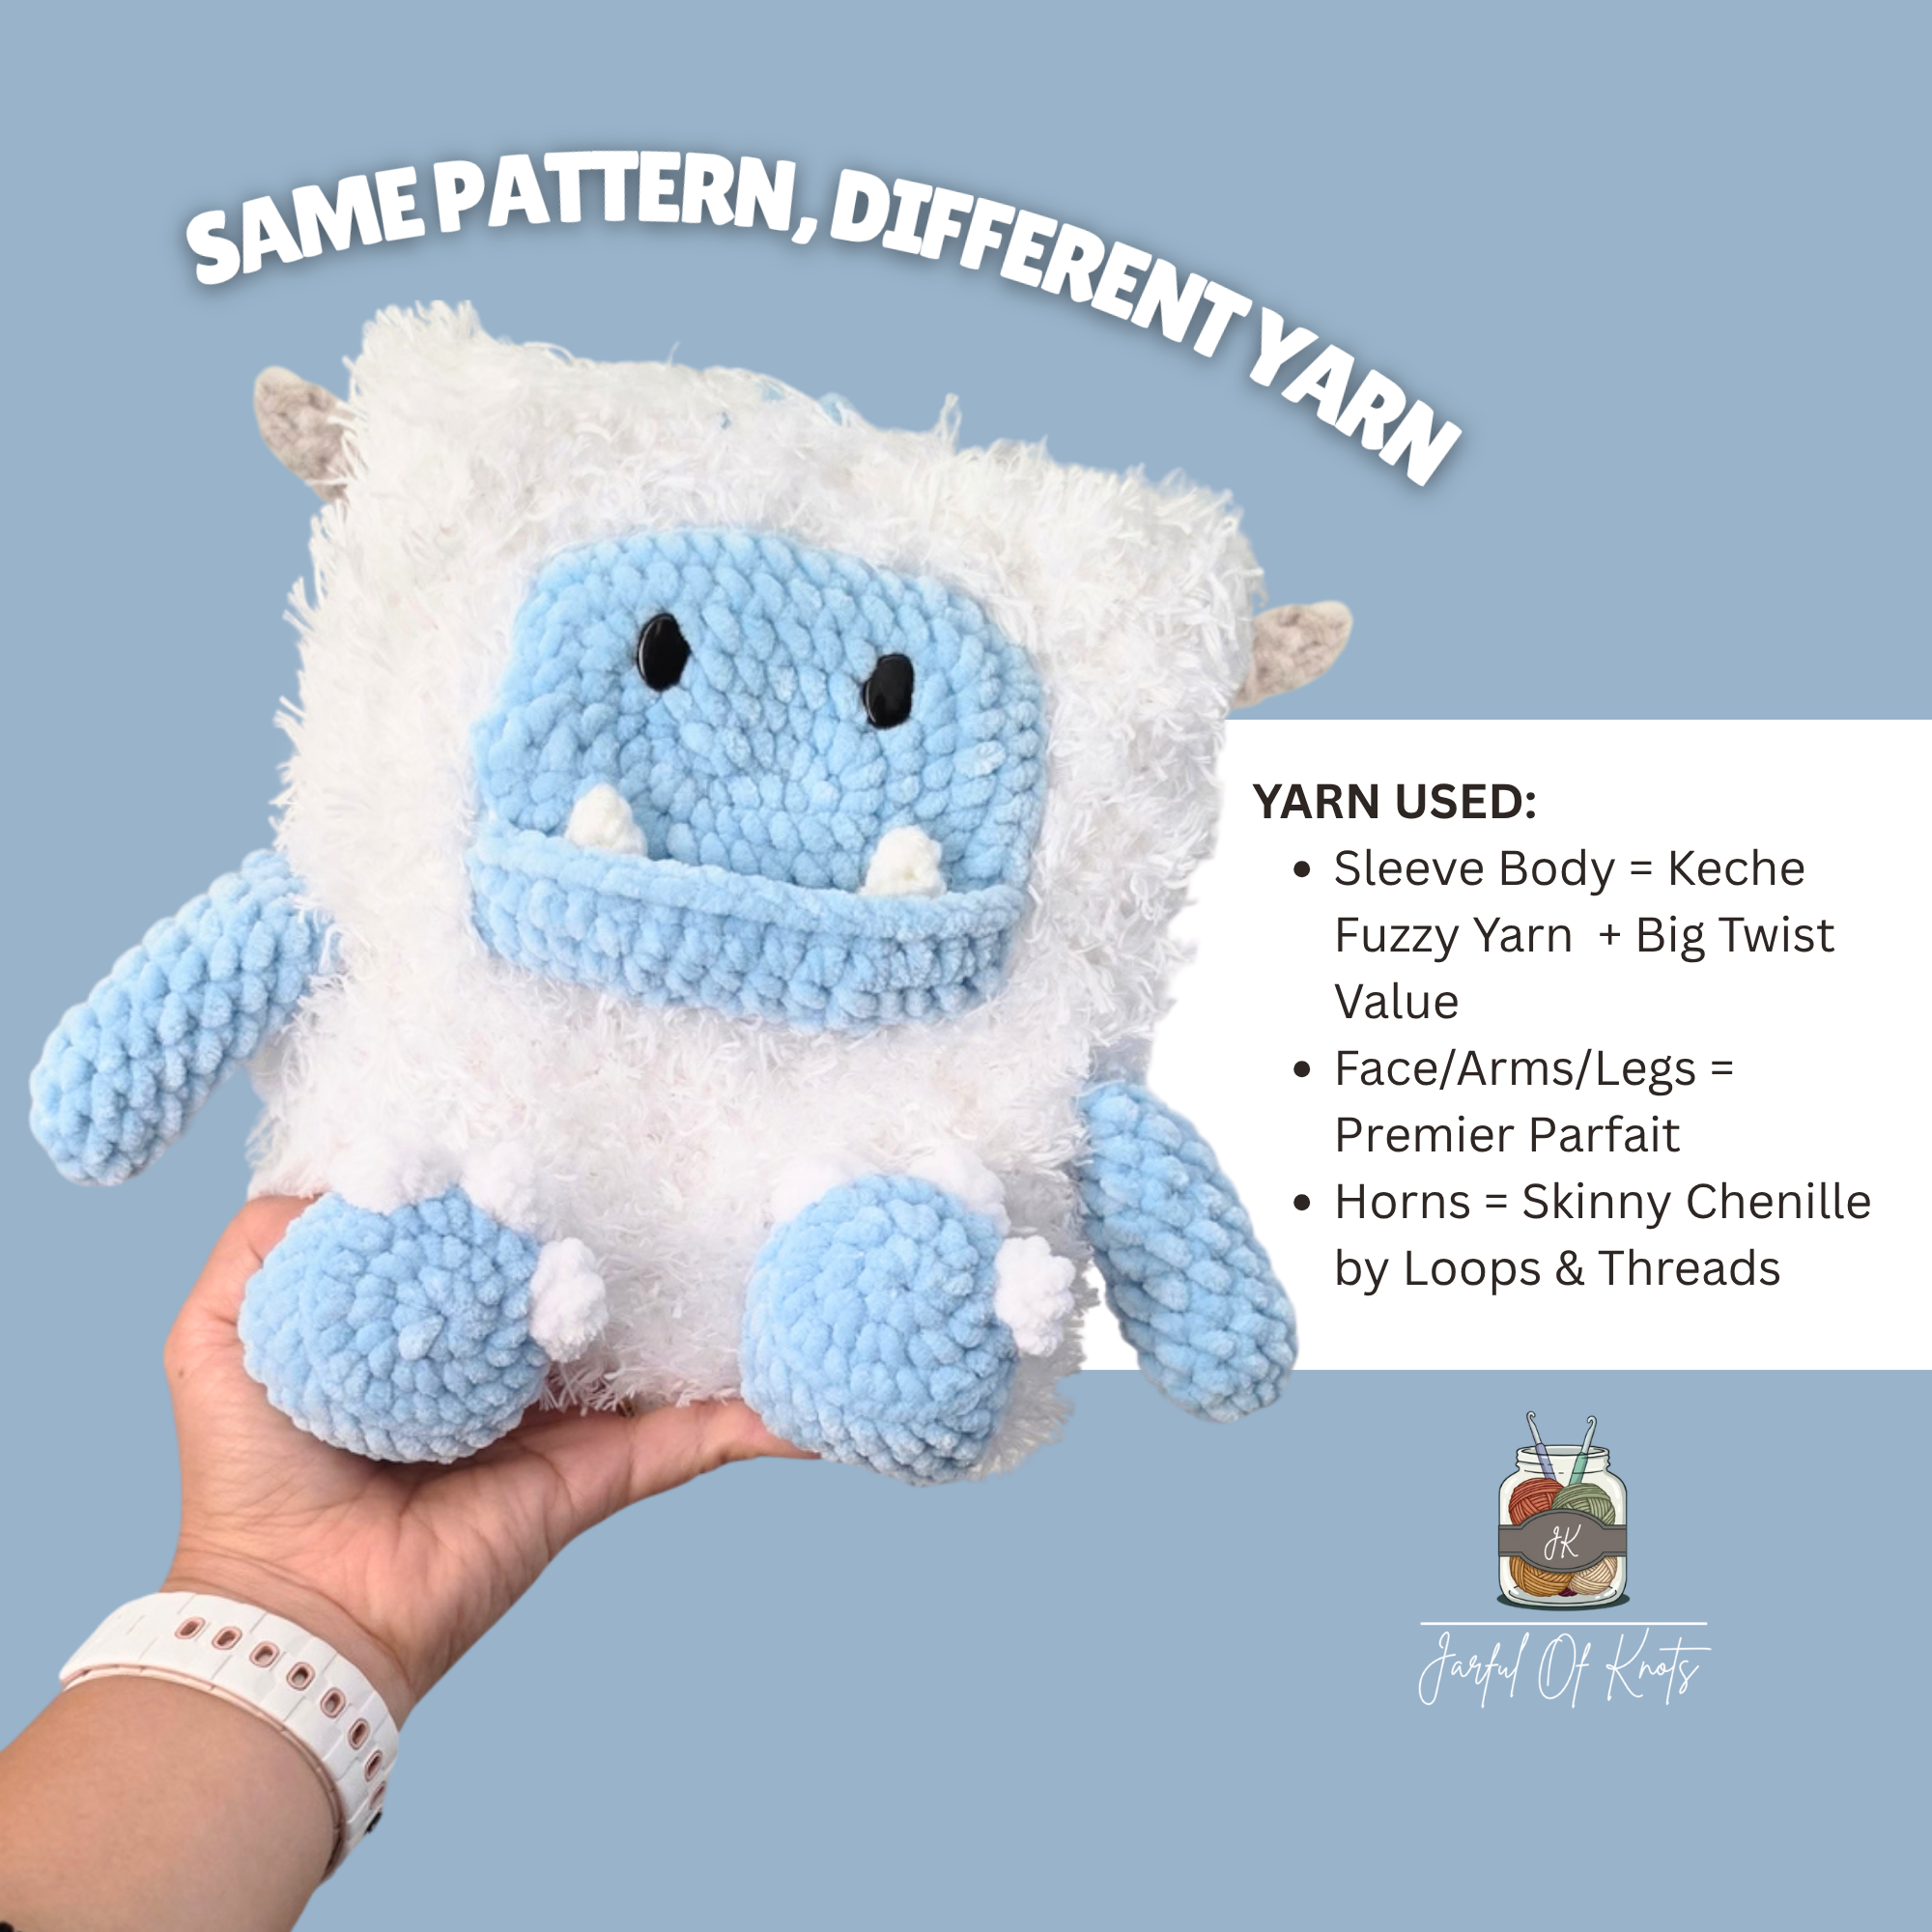
This pattern kept creeping up in my thoughts (I just don’t leaving patterns unfinished!). Fast forward to my FINAL design. After some more research, I decided to give it some actual “feet” with “toe nails” and extend the length of the arms. I wanted a versatile pattern that would work with almost any type of fur/specialty yarn so I did some extra work here was what I came up with (see below and scroll to see yarn examples). Lastly, someone commented on my post how this pattern would also make a super cute plushie… and now this pattern is a 2-in-1. Rather than make more alterations to this pattern, I wanted to keep it as simple as possible; This pattern can easily turn into a plushie by changing the order of how it’s finished and adding some stuffing.
Note on Type of Yarn Used:
It is important to note that although this pattern is easy, I do NOT recommend fur-type yarns to folks who are learning to crochet because that type of yarn works best by feel. However, if fur yarn still intimates you or you are just learning to crochet, this pattern still looks adorable with chenille yarn; I like using the jumbo weight chenille yarns like Premier Parfait XL or Sweet Snuggles by Loops & Threads because it is extra thick and soft. I highly recommend trying different types of yarns or even a combination of yarns for this pattern because, after all, it is a Yeti; Let your imagination run freely!
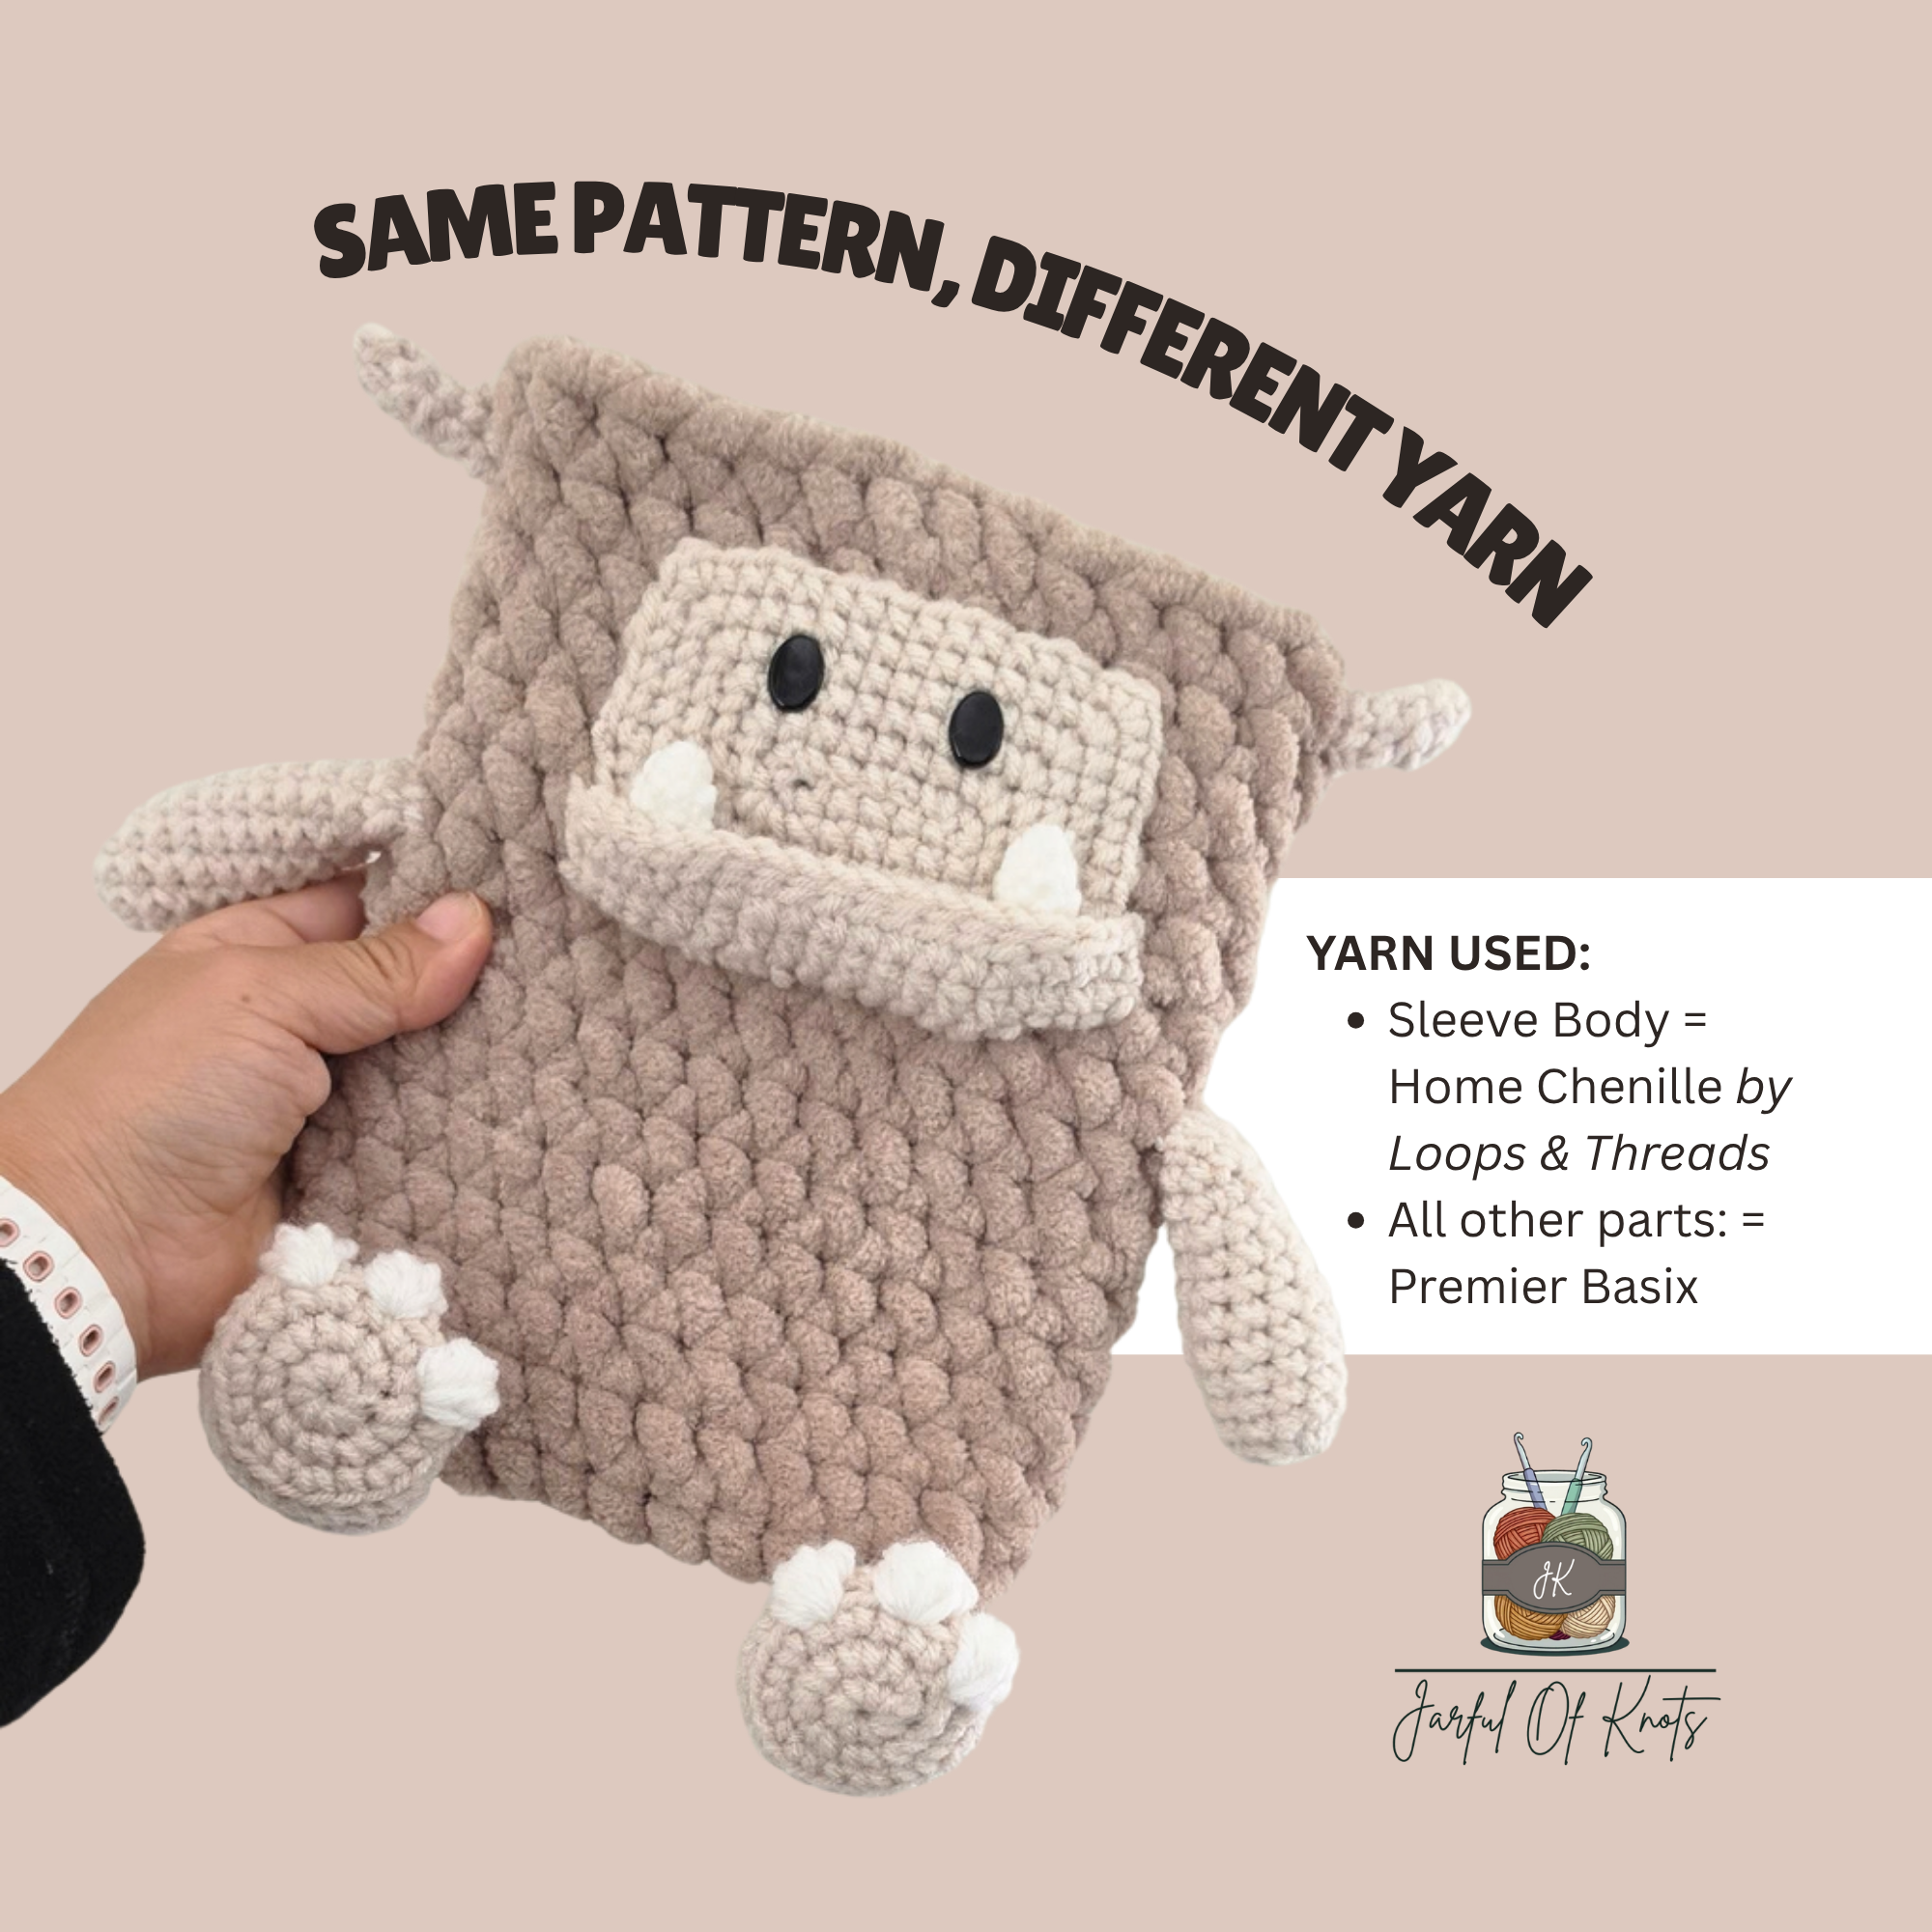
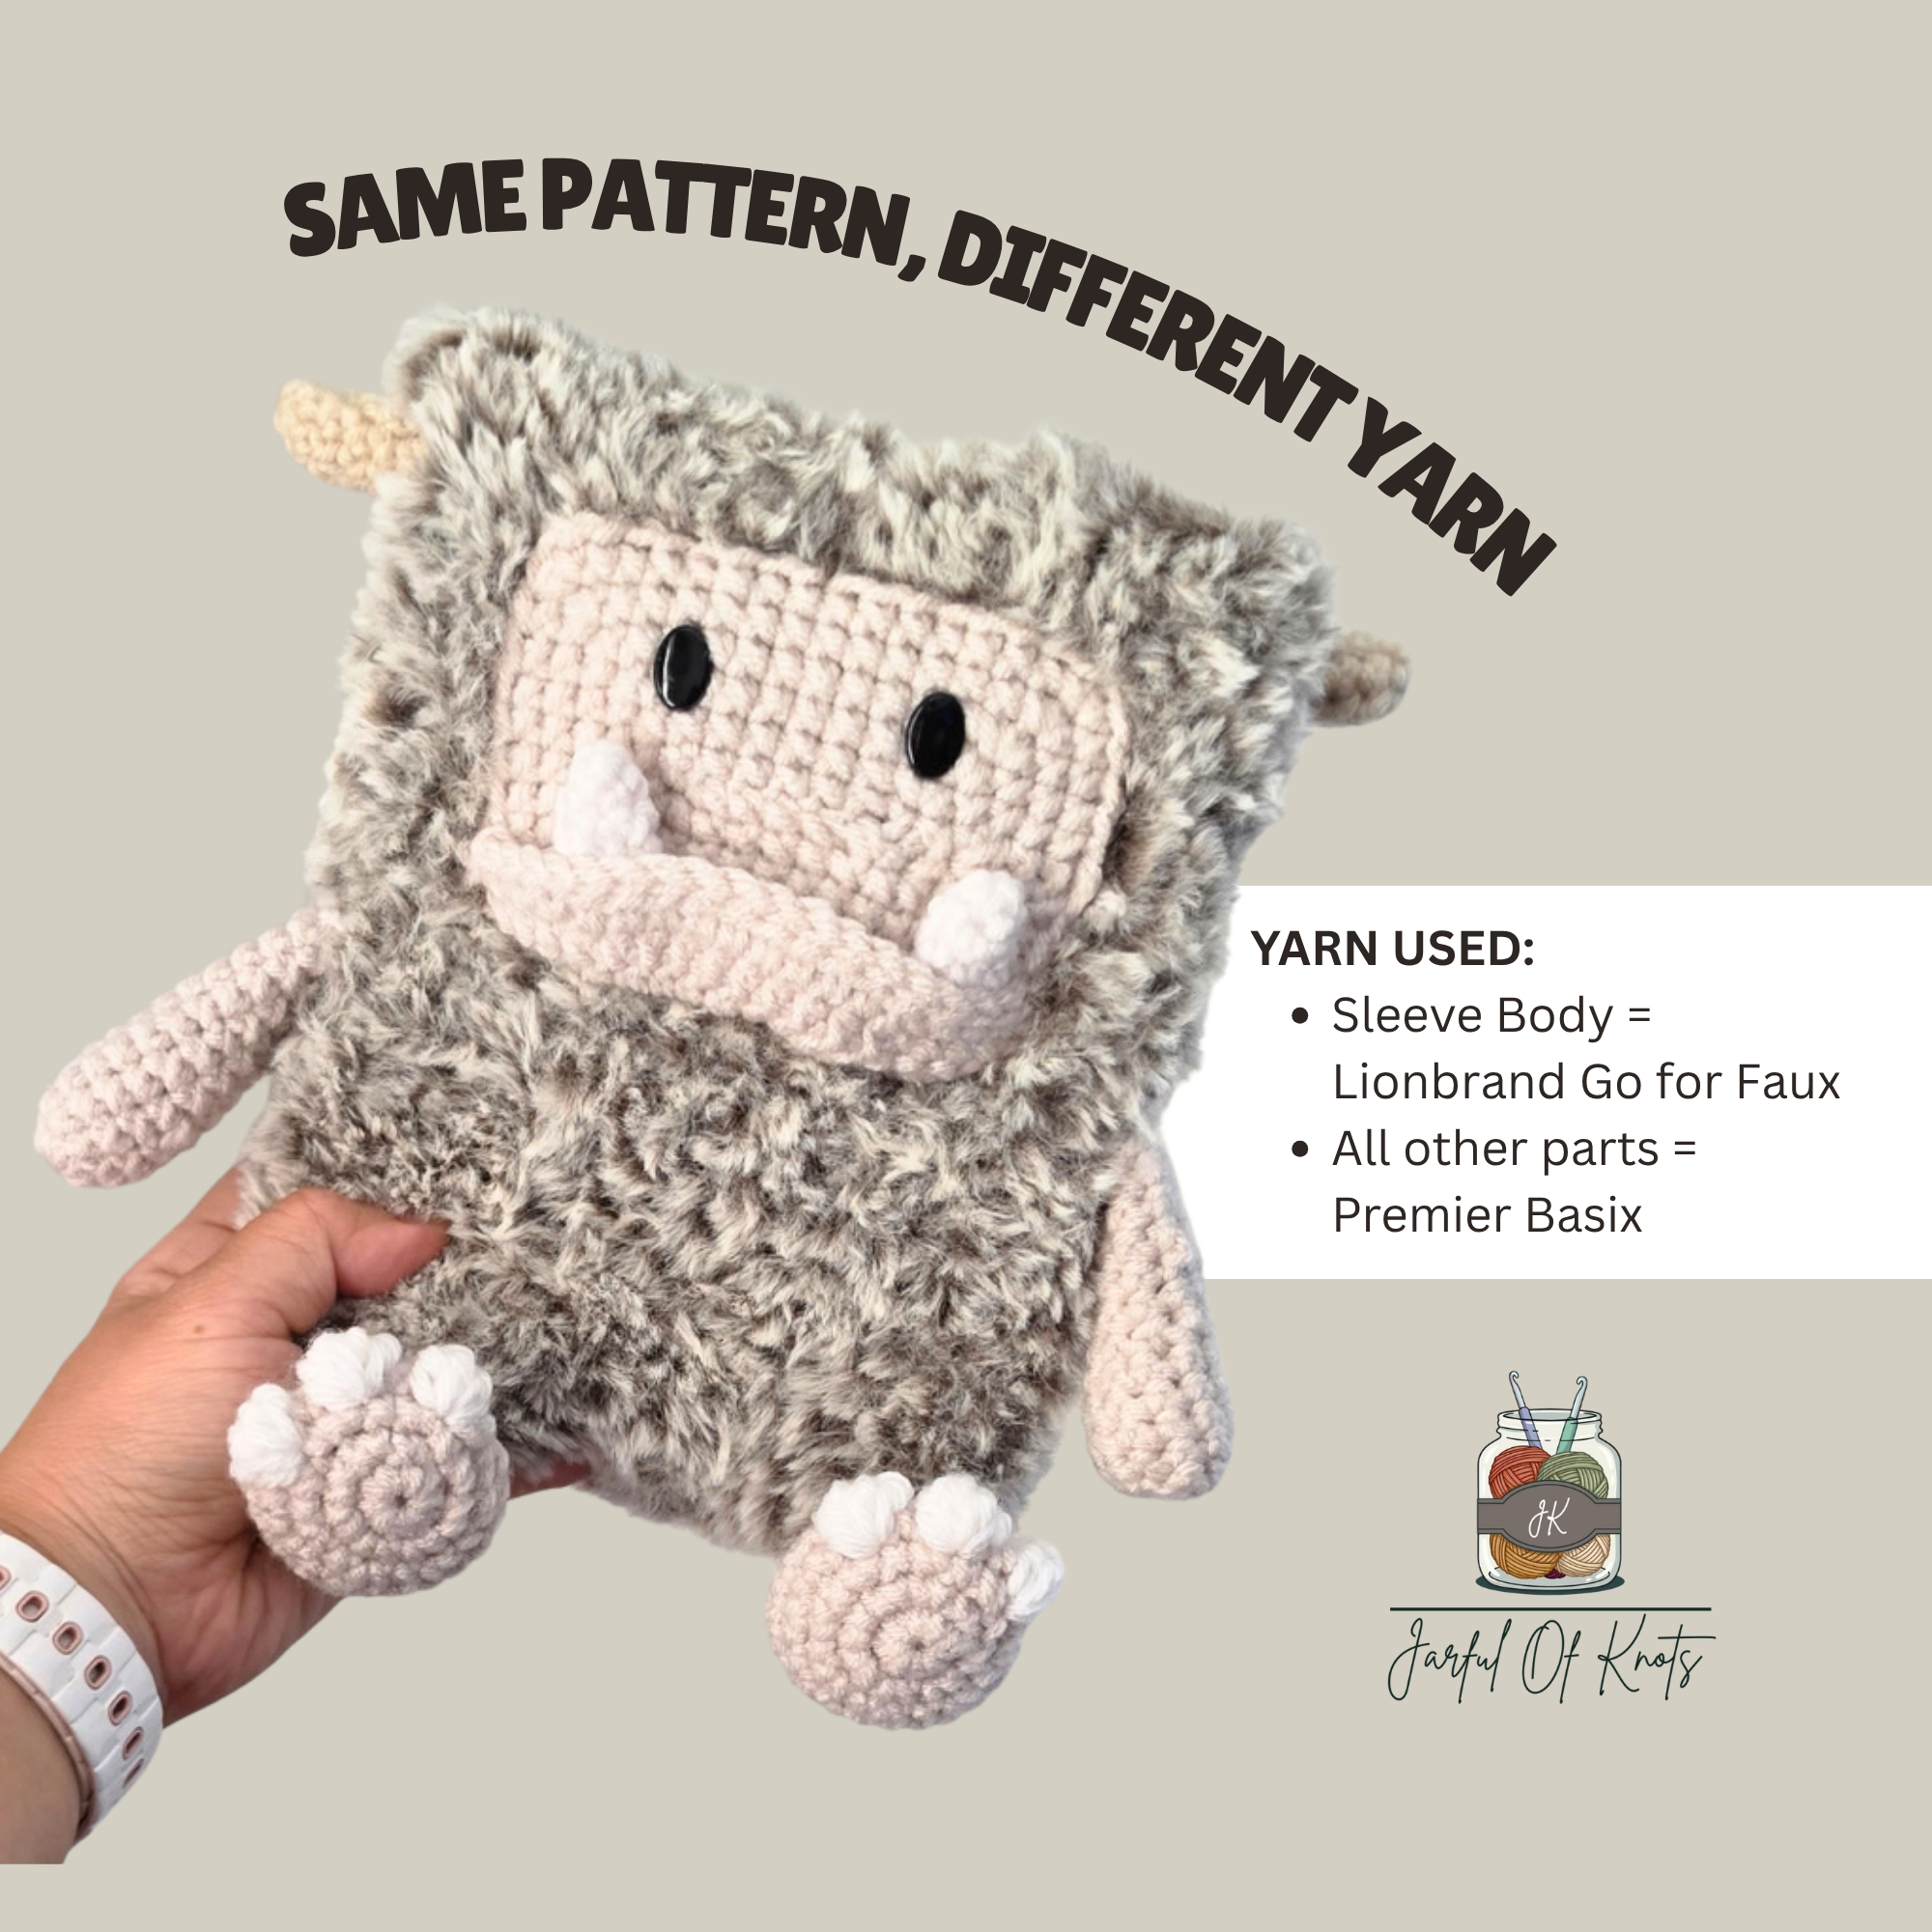
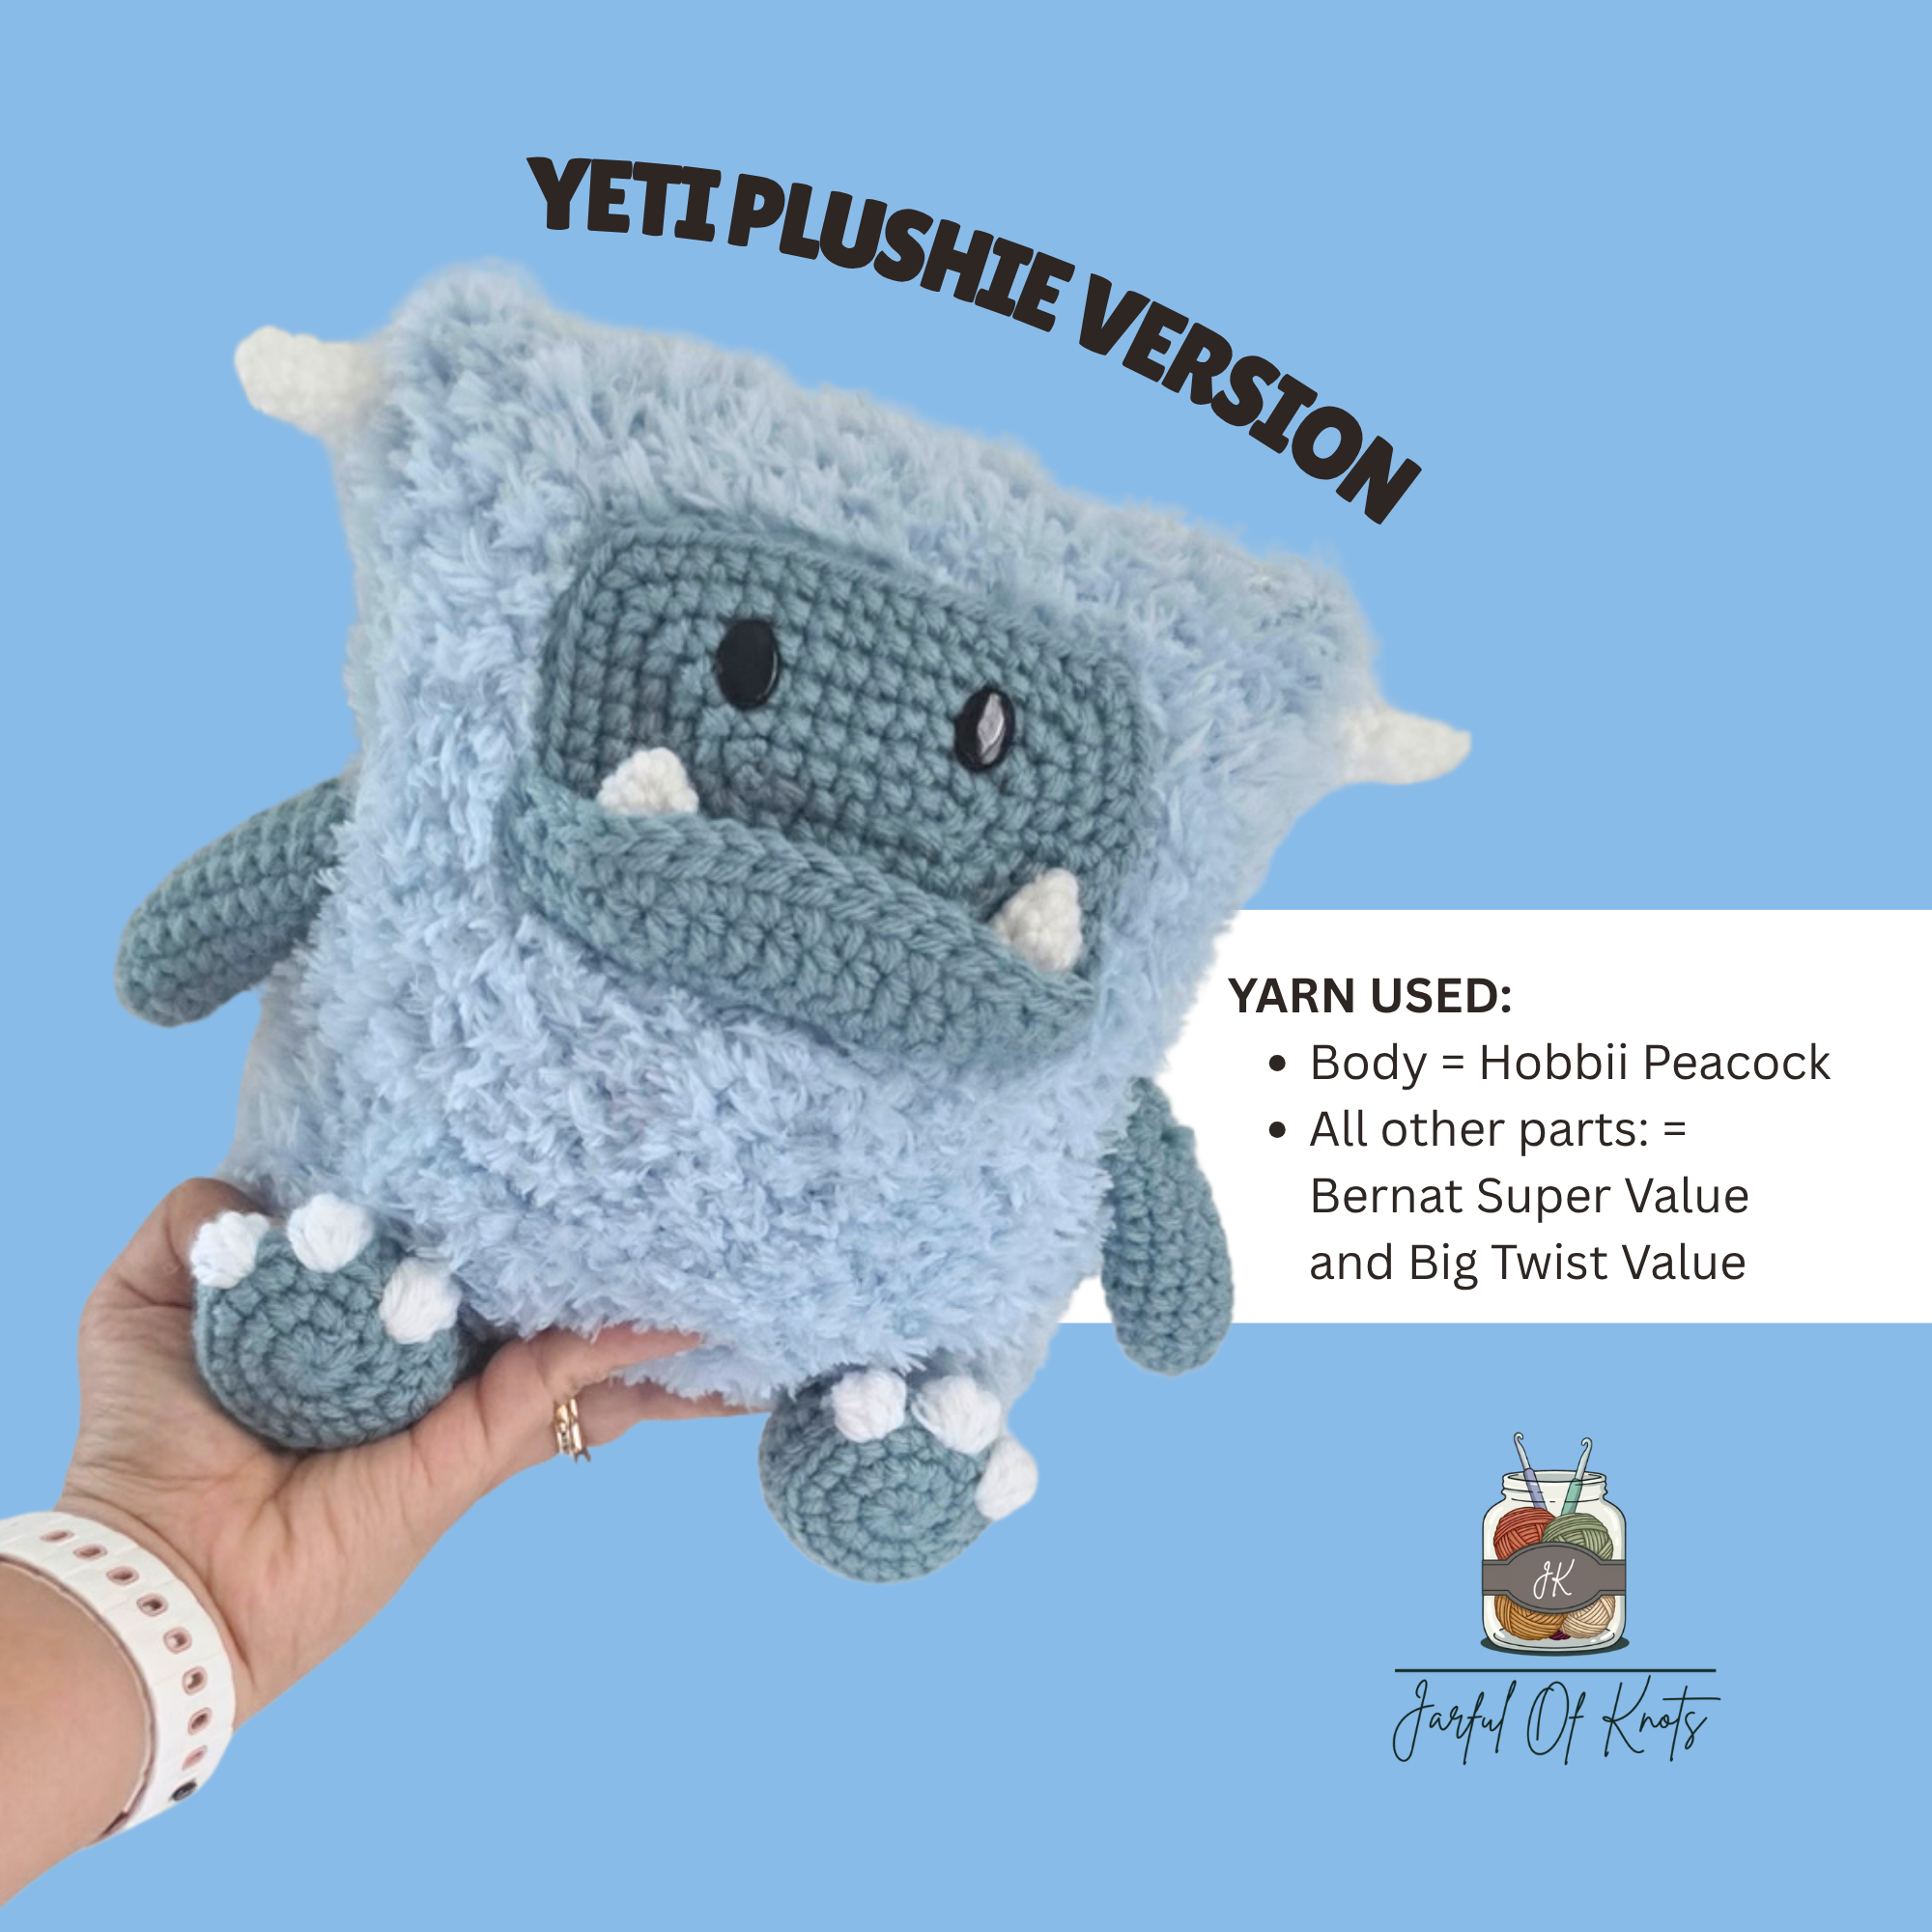
2-in-1 Yeti pattern video tutorial
NOTE: The full, paid, ad-free, digital PDF pattern is available in my shops and includes more yarn options/examples, and step by step instructions and photos. Here are the links to the full, paid, 2-in-1 Yeti Pattern:
Level is based on yarn used:
Fur/Specialty type yarns = Easy - Intermediate
Chenille/Blanket type yarns = Easy
Finished Dimensions:
Sleeve: Around 7.75" tall x 6.5" wide - fits the Kindle Paperwhite 12th Gen. or similar.
Small Pillow Plushie: Around 7" tall x 6" wide (stuffed)
Recommended Supplies
For Body:
Yarn Options (choose one of following options or use similar yarn):
Lionbrand Go For Faux (1 skein)
Keche Fuzzy Yarn (1 skein) + any medium weight acrylic yarn.
For Sleeve Only:
25mm round or toggle button (or size button of choice)
Needle and thread for attaching button
For Plushie Only:
For sewing: Any medium #4 yarn similar to color of body (recommended) or same yarn use for body.
For Arms, Chain Loop (sleeve only), Face, Feet, Horns and Teeth:
Bernat Super Value, Redheart Super Saver, or similar yarn
C2 for face, arms, and feet
White for teeth and toes
White or C3 for horns
Pair of 10mm x 14mm oval safety eyes (or size/shape eyes of choice)
4 stitch markers, safety pins, or push pins
Small amount of stuffing (for feet & arms)
General Supplies:
Scissors
Yarn needle
Stitch Marker
Ruler (optional)
Abbreviations Used:
BLO= Back loop only
BPSC = Back Post Single Crochet
BS = Bobble Stitch
CH = Chain
C2, C3 = Color 2, Color 3
FO = Fasten Off
FLO = Front Loop Only
HDC = Half Double Crochet
INVDEC = Invisible Decrease
MC = Main Color
MR = Magic Ring
SC = Single Crochet
SCINC = Single Crochet Increase
SL ST = Slip Stitch
ST or STS = Stitch or Stitches
WHDC = Wide Half Double Crochet
YU = Yarn Under
Pattern Notes:
This 2-in-1 pattern can be made into an e-reader sleeve (fits the Kindle Paperwhite 12th Gen. or small tablets/e-readers up to 8") OR into a small pillow plushie.
This pattern uses a combination of joined and continuous rounds.
It is recommended to work the yarn under method when working the SCs.
This video tutorial is broken up as follows:
Part I: Make Body
Worked in continuous rounds, from the bottom up; do not join rounds.
Part II: Make Face
The face is worked in joined rounds; each round begins with a CH1 (with exception of round 1); the CH1 (does not count as a ST).
Each round ends with a SL ST in the first ST.
The “mouth” is worked in rows. The CH1 does not count as a ST.
Part III: Make Arms, Feet, and Horns
Worked in continuous rounds, do not join rounds.
Part IIII: Assembly & Finish
Choose from either e-reader or plushie.
Video tutorial
No part of this digital file or pattern may be copied, altered, sold nor redistributed without written consent from the author. However, you may sell the finished products made from this pattern. Please give credit to @JarfulOfKnots as the author/designer and a link to my page: www.jarfulofknots.com; Please refer to our Terms of Service.