
Easy Nugget Crochet pattern
Blog Updated 11.24.25 I Pattern Corrected 8.18.25
I don’t think anyone can deny the joy of chicken nuggets during childhood. Our oldest son grew up on them, while our youngest always considered them a special treat. After all, chicken nuggets are delightful little bites of protein (mostly), coated in a batter and/or crumbs of some kind, then fried to a golden perfection. Plus, their portability and easy-to-eat nature make them irresistible—what's not to love?
With all this nostalgia in mind, I knew I wanted to design a nugget. You’ll notice the little curve on this adorable little nugget; it took several attempts to get it just right, but I’m so happy with how it turned out.
My easy nugget pattern is very beginner-friendly. While it does use an invisible decrease, a simple single crochet decrease can be used if that’s more comfortable for you. I hope you’ll give it a go, and if you do, please tag me on social media @jarfulofknots.
You can find the full digital PDF Pattern, which includes bonus instructions on how to work a large nugget. Ready to print “Emotional Support Nugget” display tags and labels for this little nugget are also available, in my shop (linked below).
UPDATE: Scroll to bottom to see how I assemble my Emotional Support Nugget plushies (includes link to my Amazon shop for supplies).

Easy Nugget pattern
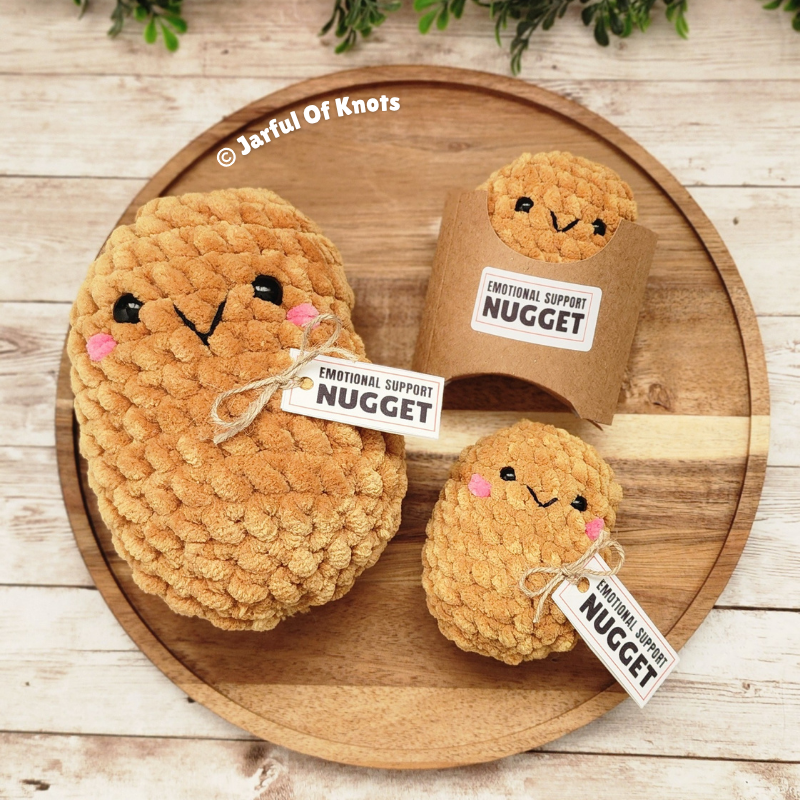
Emotional Support Chicken Nugget display tags available in my shop!
Easy nugget pattern
Supplies
(Affiliate links included):
18 yards of one of following (or similar):
Hobbii Honey Bunny in Nougat (09)
Premier Parfait Chunky in 1150-29 Mustard
Scissors
Stitch Marker
Optional: Small amount of yarn in pink (for blush) and/or black embroidery thread for “smile.”
Abbreviations Used
FO = Fasten Off
FLO = Front Loop Only
INV DEC = Invisible Decrease
MR = Magic Ring
RND = Round
RPT = Repeat
SC = Single Crochet
SC INC = Single Crochet Increase
ST = Stitch
YO = Yarn Over
Pattern notes (Please read before beginning pattern)
The pattern is worked beginning the top to the bottom.
This pattern is worked using the yarn under method.
Right side facing out: The side in which the beginning yarn tail is not coming out. If right handed, you will be working counter-clockwise.
This pattern is worked in continuous rounds, do not join rounds.
An invisible decrease (INV DEC) is used in this pattern but if preferred, you may use a standard single crochet decrease (SC DEC).
A comma (,) indicates to work in the next stitch; For example “SC, SCINC” = Single crochet in next stitch, single crochet increase in next stitch.
A "x#" indicates to work given stitch in each of the next “x” number of stitches; For example: “SC x5” = Work 1 single crochet in each of the next 5 stitches.
Special Stitch reference
Invisible Decrease (INVDEC):
Insert hook into the FLO of ST then insert hook into FLO of next ST, YO, pull through 2 loops, YO pull through 2 loops.
NOTE: If preferred, a standard single crochet decrease (SC DEC) instead.
Easy Nugget Pattern
Begin: CH5.
RND 1: SC INC in 2nd CH from hook, SC x2, SC INC - image B.1. You will now work on the opposite side of foundation CH. SC INC in first CH on opposite side of foundation CH - image B.2, SC x2, SC INC in last CH, do not join (12 STS).
RND 2: SC INC in first ST, SC x4, SC INC x2, SC x4, SC INC (16 STS).
RND 3: SC INC, SC, SC INC, SC x2, SC INC, SC, SC INC x2, SC, SC INC, SC x2, SC INC, SC, SC INC (24 STS).
RND 4: SC around (24 STS).
RND 5: INV DEC x2, SC in each of remaining STS (22 STS).
RND 6: INV DEC, then SC in each of remaining STS (21 STS).
Add safety eyes to RNDS 3/4 or RNDS 4/5, spaced 3 to 4 STS apart.
RND 7: SC INC x2, SC in each of remaining STS (23 STS).
RND 8: SC INC, SC in each of remaining STS around (24 STS).
RND 9: SC around (24 STS).
RND 10: *INV DEC, SC.* Repeat from * to * around (16 STS).
Add Polyfil: Stuff plushie making sure not to overstuff; You want to keep and front and back somewhat flat to resemble a chicken nugget.
RND 11: SC around (16 STS).
RND 12: INV DEC around then FO and weave ends (8 STS).
Finish:
Cut a 6" strand of yarn and thread into yarn needle.
Pinch the opening to align the stitches on each side of the round.
Seam the hole closed, starting from one end and working to the opposite end.
FO and weave in the ends.
Optional:
With pink yarn, embroider on some “blush”.
With black embroidery thread, embroider a “smile” between eyes.”
Ready to print and cut tags are available in my shop
Supplies are linked in my Amazon store (affiliate link)
Copyright © Jarful Of Knots 2025. All Rights Reserved.
This pattern is copyright and owned by Jarful of Knots. No part of this digital pattern may be copied, redistributed, sold, nor altered, and/or claimed as your own. However, you may sell the finished product made from this pattern; please give pattern credit to Jarful Of Knots. Read more in our Terms of Service.