
easy cookie plushie pattern
These cookies were inspired by all the micro bakeries and yummy home baked cookies that have been filling my feeds lately. Before crochet, I used to bake a lot! I still enjoy baking but haven’t had the time to do it as much as I used to. When I baked, I always had a “love/hate” thing about baking cookies because it required all the measuring and mixing but after that, it was so much joy from scooping them to baking them to, of course, eating them! However, since I am also trying to cut back on the sweets (💔 😭), I decided to make a "guilt-free" version 😉. I have a short video tutorial below on how I embroider the chocolate chips; This method can also be used to make “sprinkles” for the mod for the Frosted Cookie that is available in the full, digital, PDF pattern available in my shops).

easy Cookie Plushie pattern and emotional support cookie tag Bundle now available in my shops!
This paid bundle includes:
Easy Cookie Plushie Full Digital PDF Pattern
Step by step instructions with photos and helpful tips
Recommended yarn substitutions
Yarn and Hook Size Combinations for using other yarns
Mod for Frosted Cookie
Mod for Sew-On Tags/Sitting Cookie (sits on any flat surface).
Printable Emotional Support Cookie Tags (Digital PDF)
Printable Fold Tags (4 Styles) - fits over 5” x 5” cello bags
Printable Sew-On Tags (2 Styles): Works with any cookie plushie with diameter of 3” x 3” to 4” x 4”
Purchase Options:
Emotional Support Cookie Printable Tags: Tags only, pattern not included, available here only.
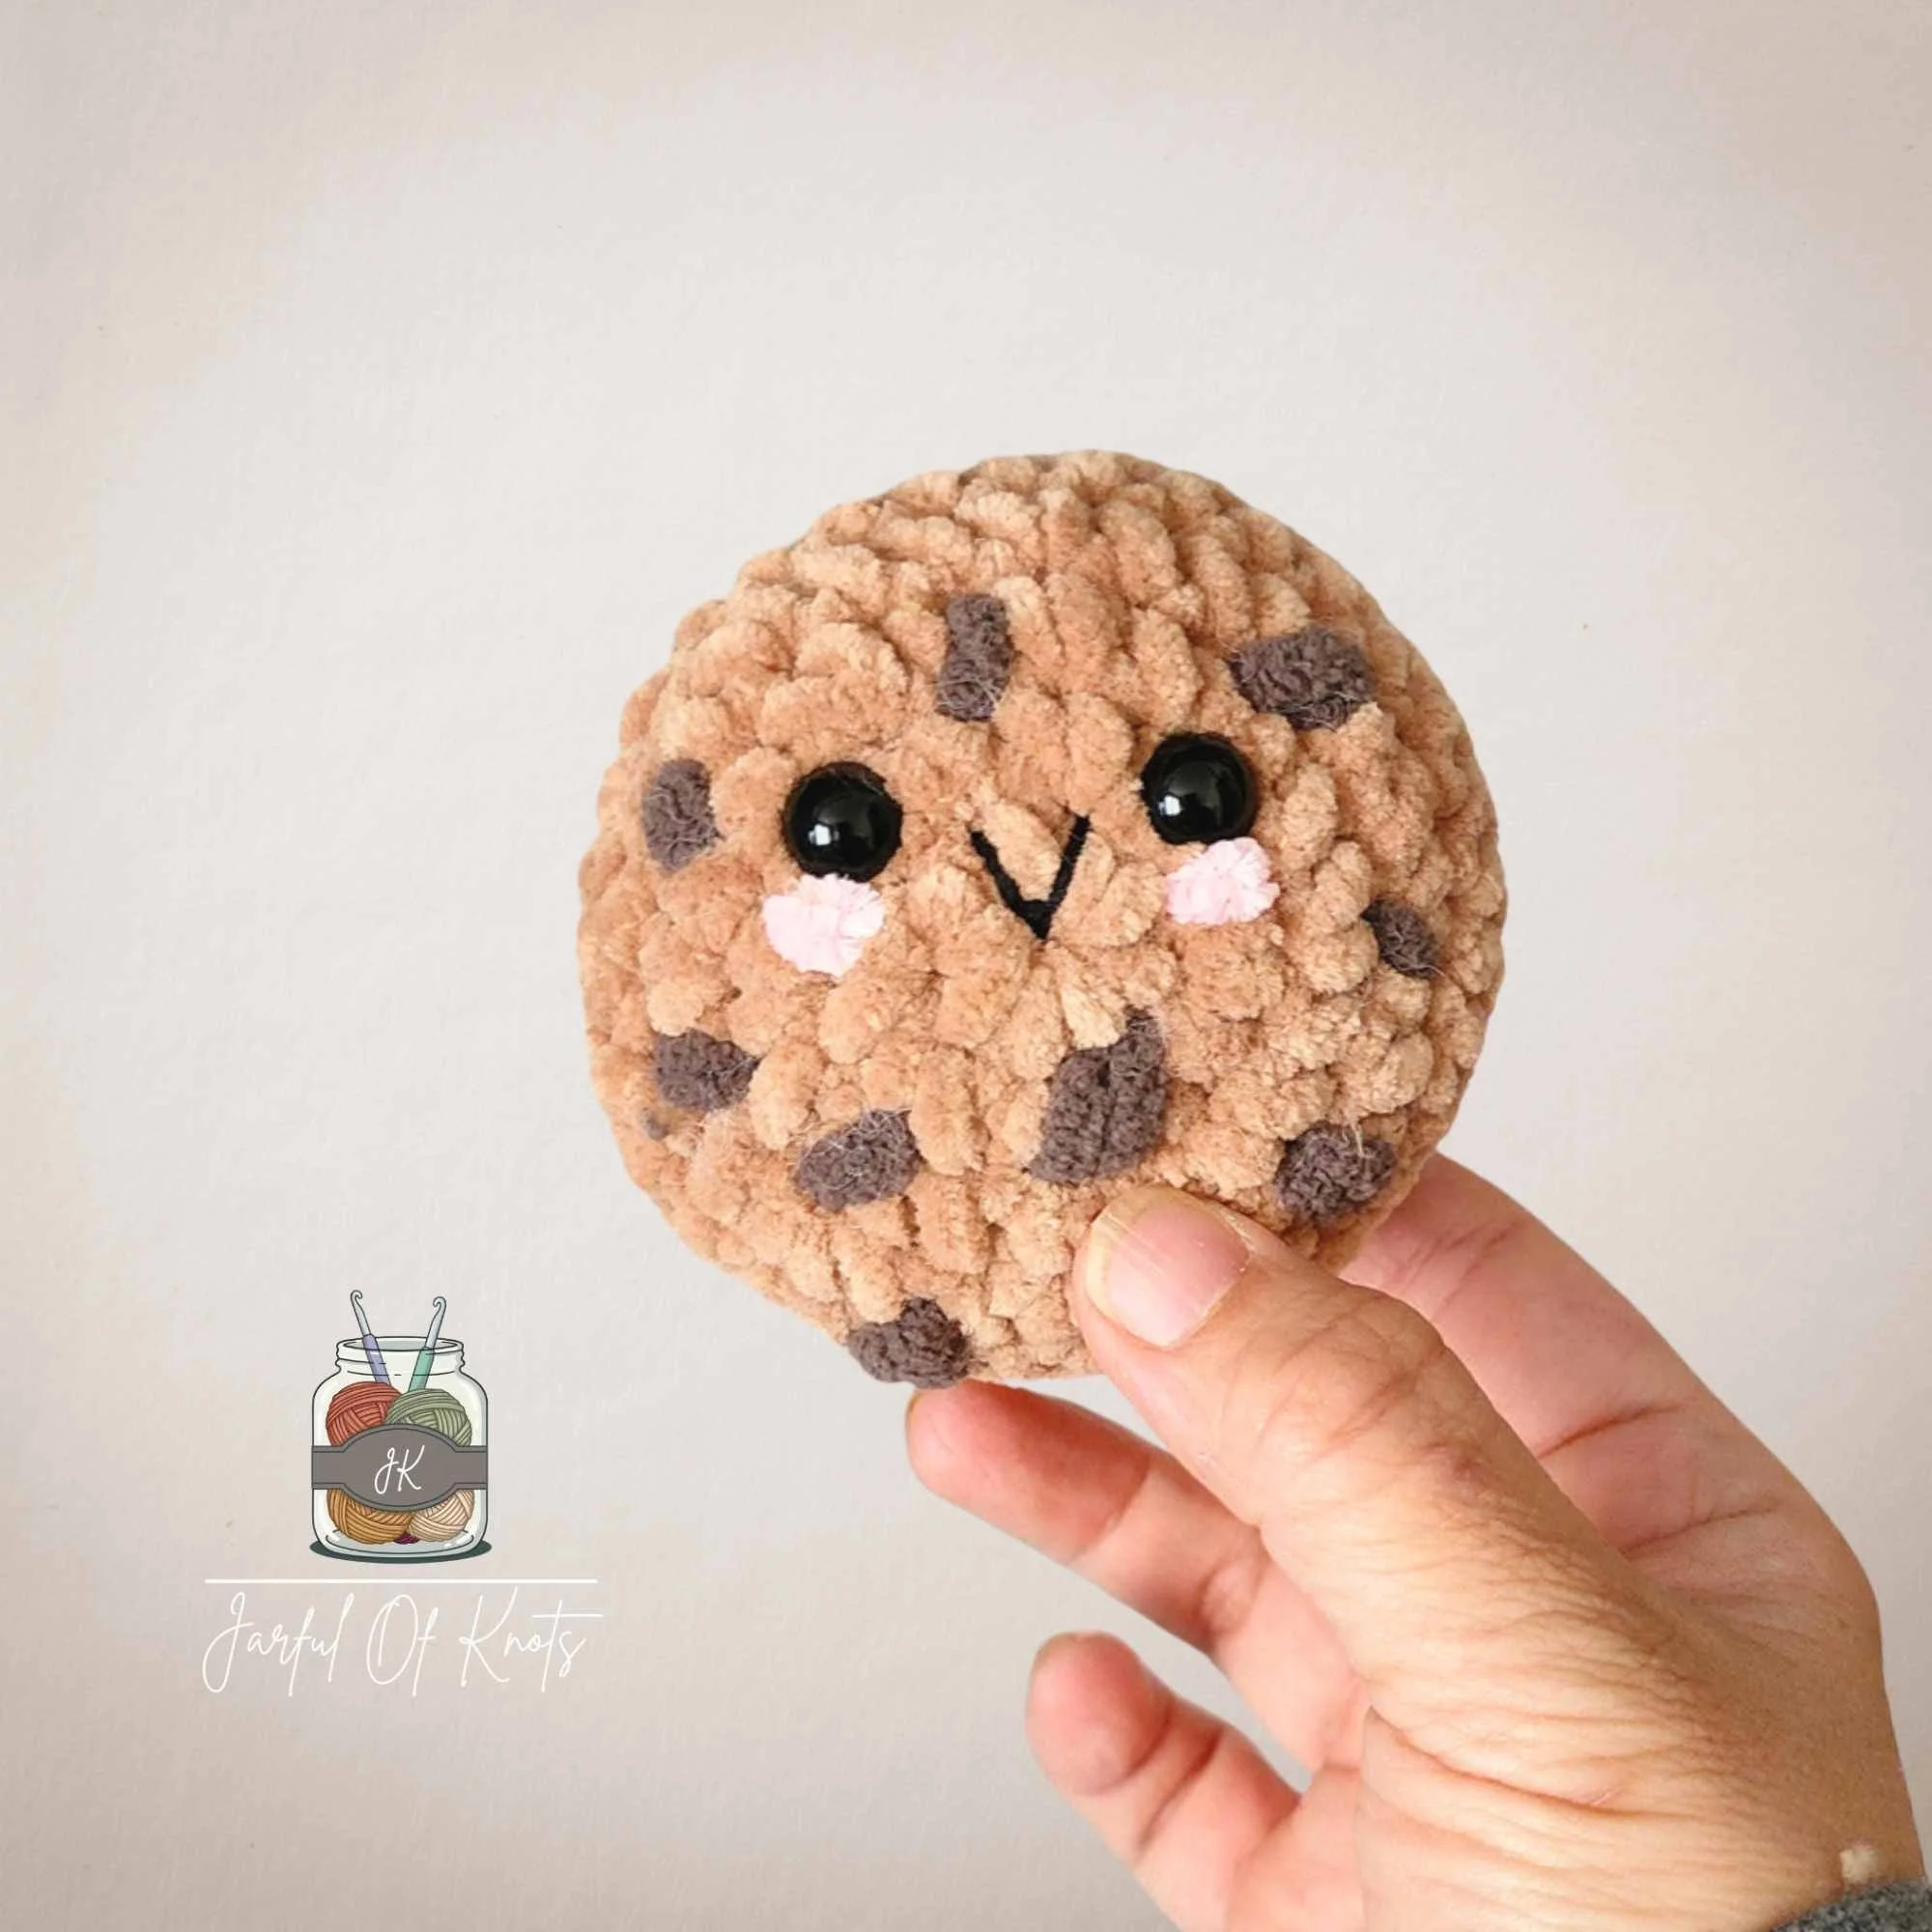
Easy Cookie Plushie
Easy Cookie Plushie Crochet Pattern
Notes:
This pattern uses US terminology.
This pattern is beginner friendly.
Right Side Facing Out: The side in which the beginning yarn tail is not coming out. If right handed, you will be working counter-clockwise.
This pattern is uses the yarn under method.
The pattern is worked in continuous rounds (do not join rounds) from the front to back of plushie.
An invisible decrease (INV DEC) is used in this pattern but if preferred, you may use a standard single crochet decrease (SC DEC).
A comma (,) indicates to work in the next stitch; For example “SC, SC INC” = Single crochet in next stitch, single crochet increase in next stitch.
A "x#" indicates to work given stitch in each of the next “x” number of stitches; For example: “SC x5” = Work 1 single crochet in each of the next 5 stitches.
Abbreviations:
FO = Fasten Off
BLO=Back Loop Only
INV DEC = Invisible Decrease
MR = Magic Ring
RND = Round
SC = Single Crochet
SC INC = Single Crochet Increase
ST or STS = Stitch or Stitches
Supplies:
Super bulky #6 blanket or chenille yarn
Cookie: Premier Parfait Chunky in 1150-81 Almond Butter (or similar)
Chocolate Chips: Any yarn of choice in dark brown.
1 pair of 10mm safety eyes
Scissors
Stitch Marker
Optional:
Small amount of pink yarn for blush
Black embroidery thread for “smile”
Instructions:
Begin: Work a MR.
Alternative to MR: CH2 then work RND 1 in 2nd CH from hook.
RND 1: 8SC in MR (8).
RND 2: SCINC x8 (16).
RND 3: *SC, SCINC* x8 (24).
RND 4: *SC x2, SCINC* x8 (32).
RND 5: SC x32 around (32).
RND 6: Working in the BLO around (32).
RND 7: *SC x2, INV DEC* x8 (24).
Attach Eyes: With the ST #1 of RND 6 facing towards bottom half of plushie, add safety eyes to RNDs 3 and/or 4, 4 STS apart.
RND 8: *SC, INV DEC* x8 (16).
Stuff Plushie: Stuff plushie with polyfil, making sure not to overstuff. You want to stuff so that it is firm (just enough so that stuffing does not show through STS) but also maintaining the flat cookie shape.
RND 9: INV DEC x8. FO leaving a 6" strand for sewing (8).
Finish: Thread yarn tail onto needle and sew hole shut.
Optional:
Add Blush: Use pink yarn to embroider “blush” under the eyes.
Add Smile: Use black thread or yarn to embroider smile between the eyes.
Add Chocolate Chips: Thread brown yarn into needle to embroider chocolate chips around the perimeter of the “face.”
Congrats, your cookie is complete!
Copyright © Jarful Of Knots 2026. All Rights Reserved.
No part of this digital file or pattern may be copied, altered, sold nor redistributed without written consent from the author. However, you may sell the finished products made from this pattern. Please give credit to @JarfulOfKnots as the author/designer and a link to my page: www.jarfulofknots.com; Please refer to our Terms of Service.