This post includes affiliate links.
If you’ve been following me for a while, you may know that I enjoy looking for creative ways to display my finished pieces and sharing them with you! Here is another example of that. I found this adorable dragon snuggler pattern by Jodie’s Yarn on Etsy (linked below). Of course this little guy was perfect just as is but to make him even more special, I made a bed for him and designed some custom packaging for him along with an “adoption certificate!” This post includes instructions/video tutorial for the grassy bed (which can also be used as a trinket tray!) along with how I put the packaging together. Supplies for everything are also listed and linked below. Enjoy!
This diameter of the grassy bed/trinket tray comes out to around 5.5” x 5.5” so it would work for any plushie within that size such as bunnies, piggies, or any other land animal really.
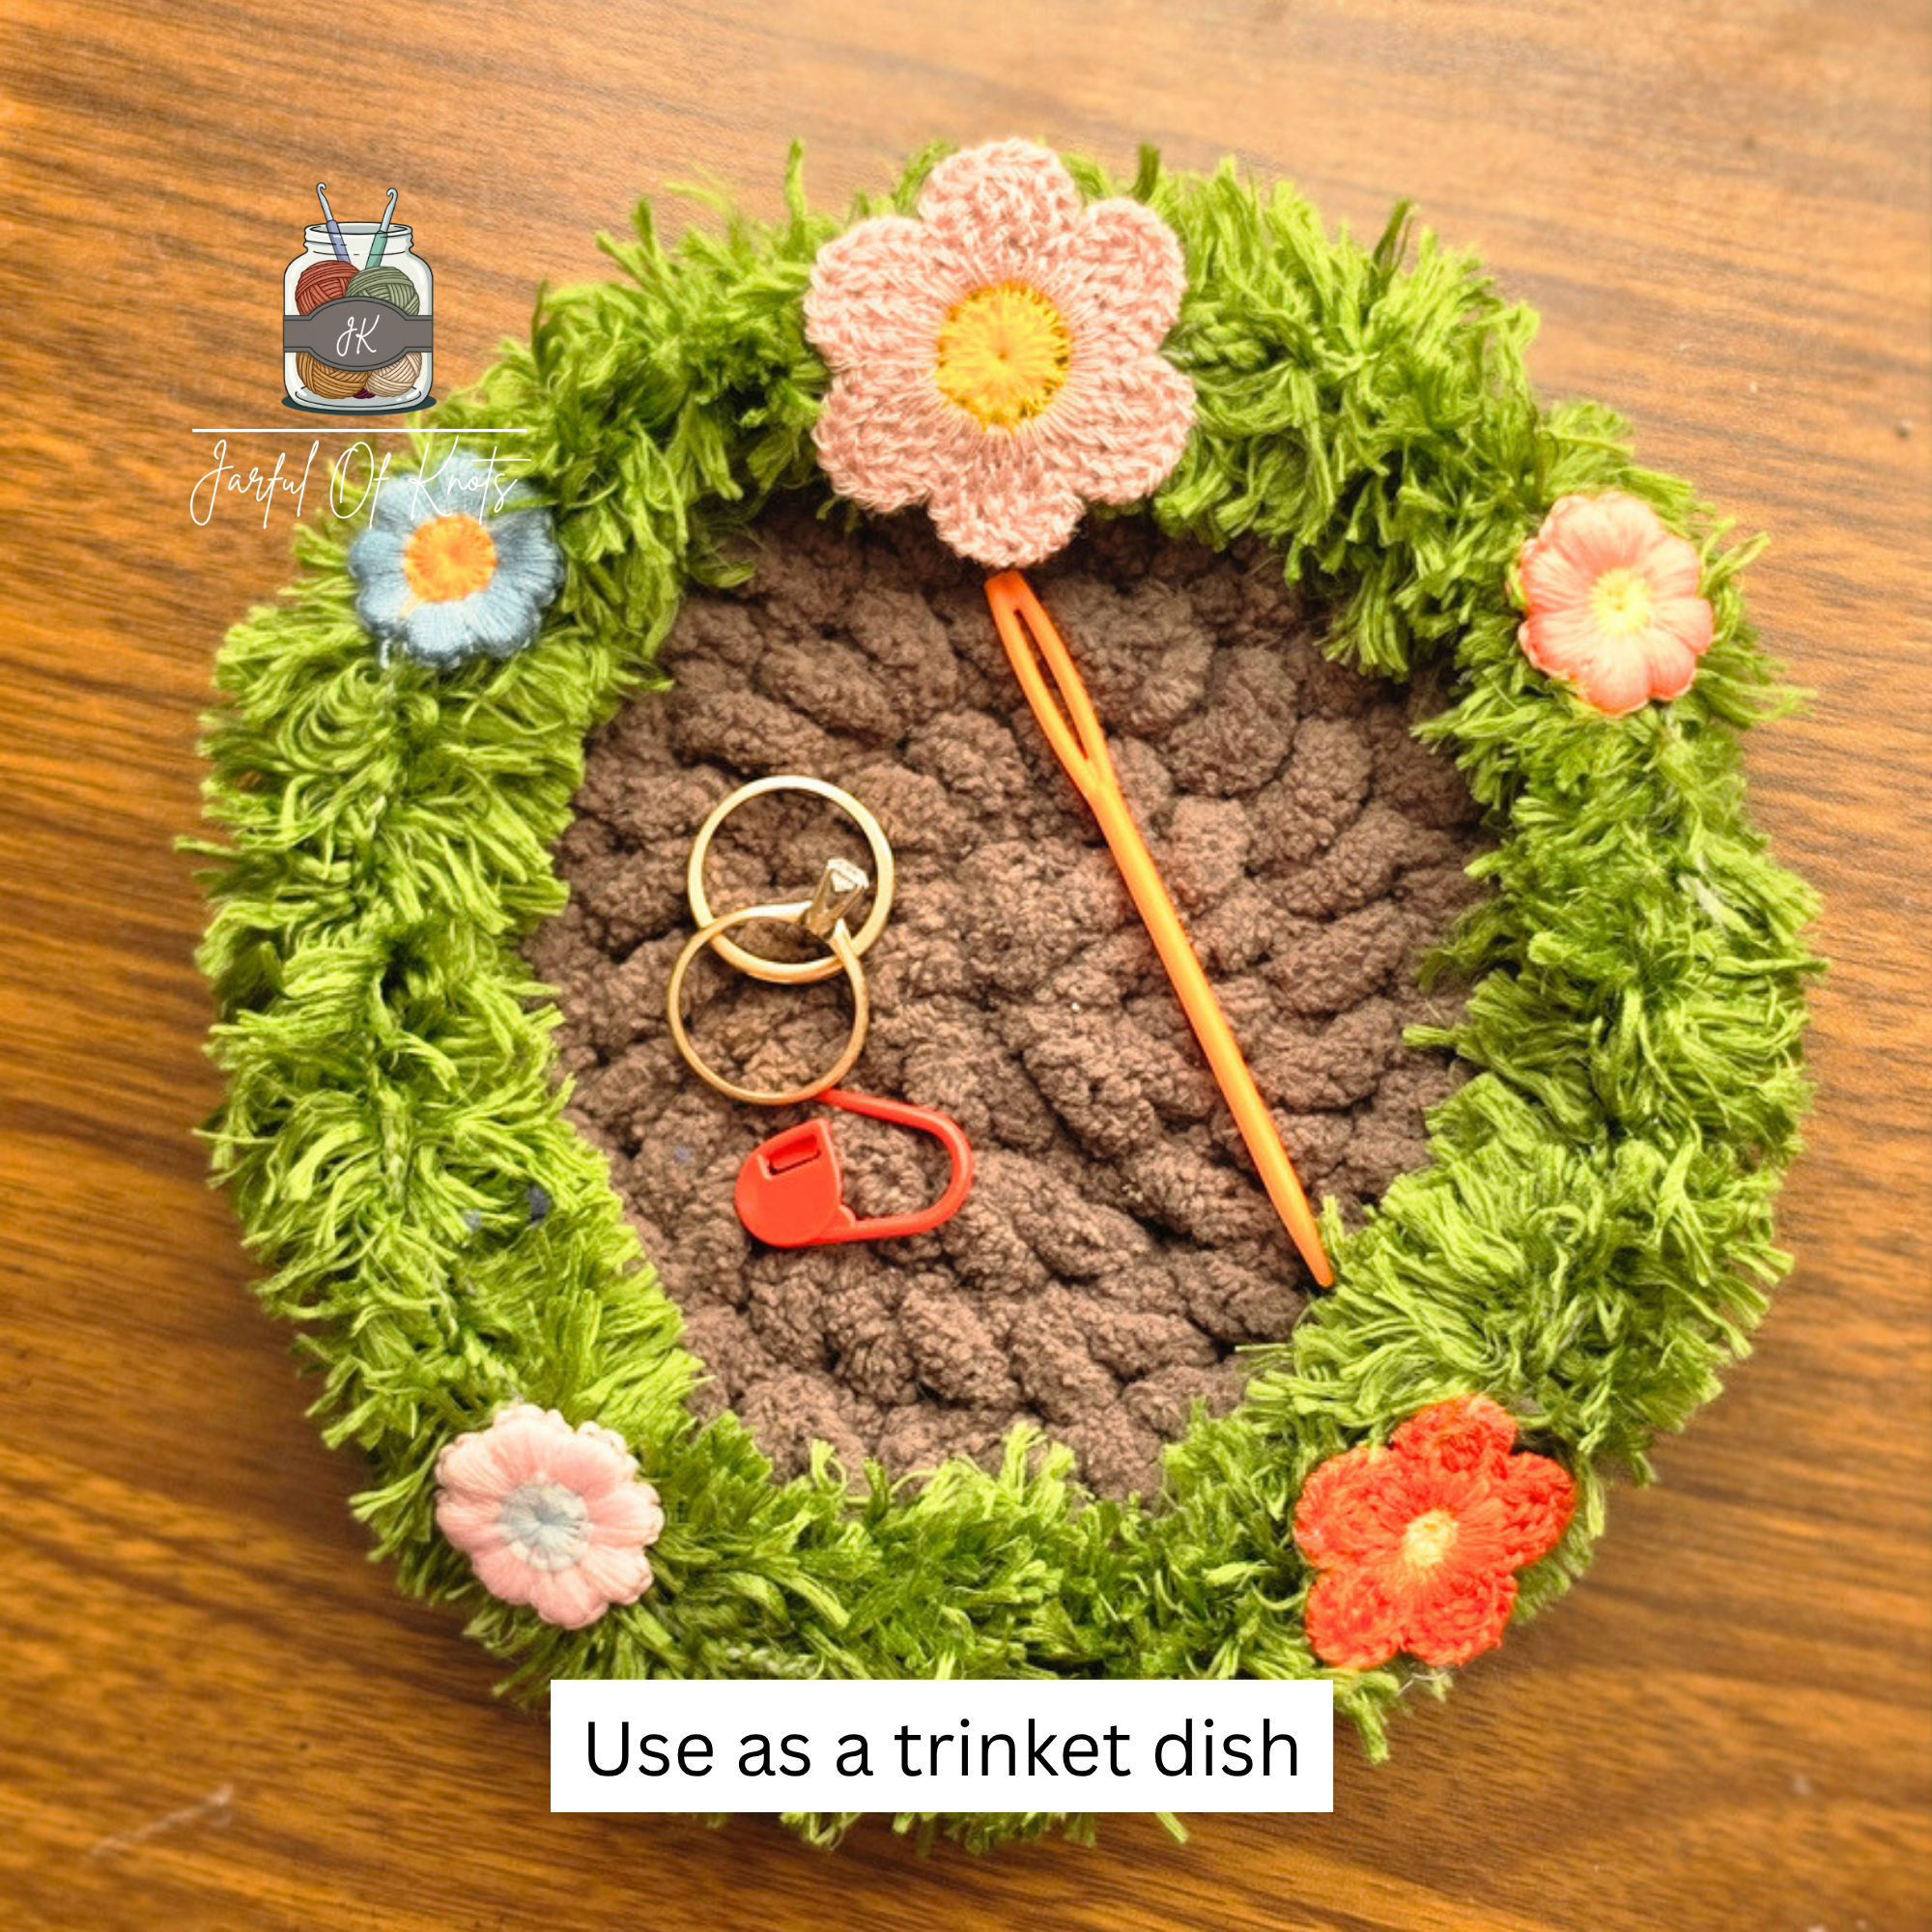
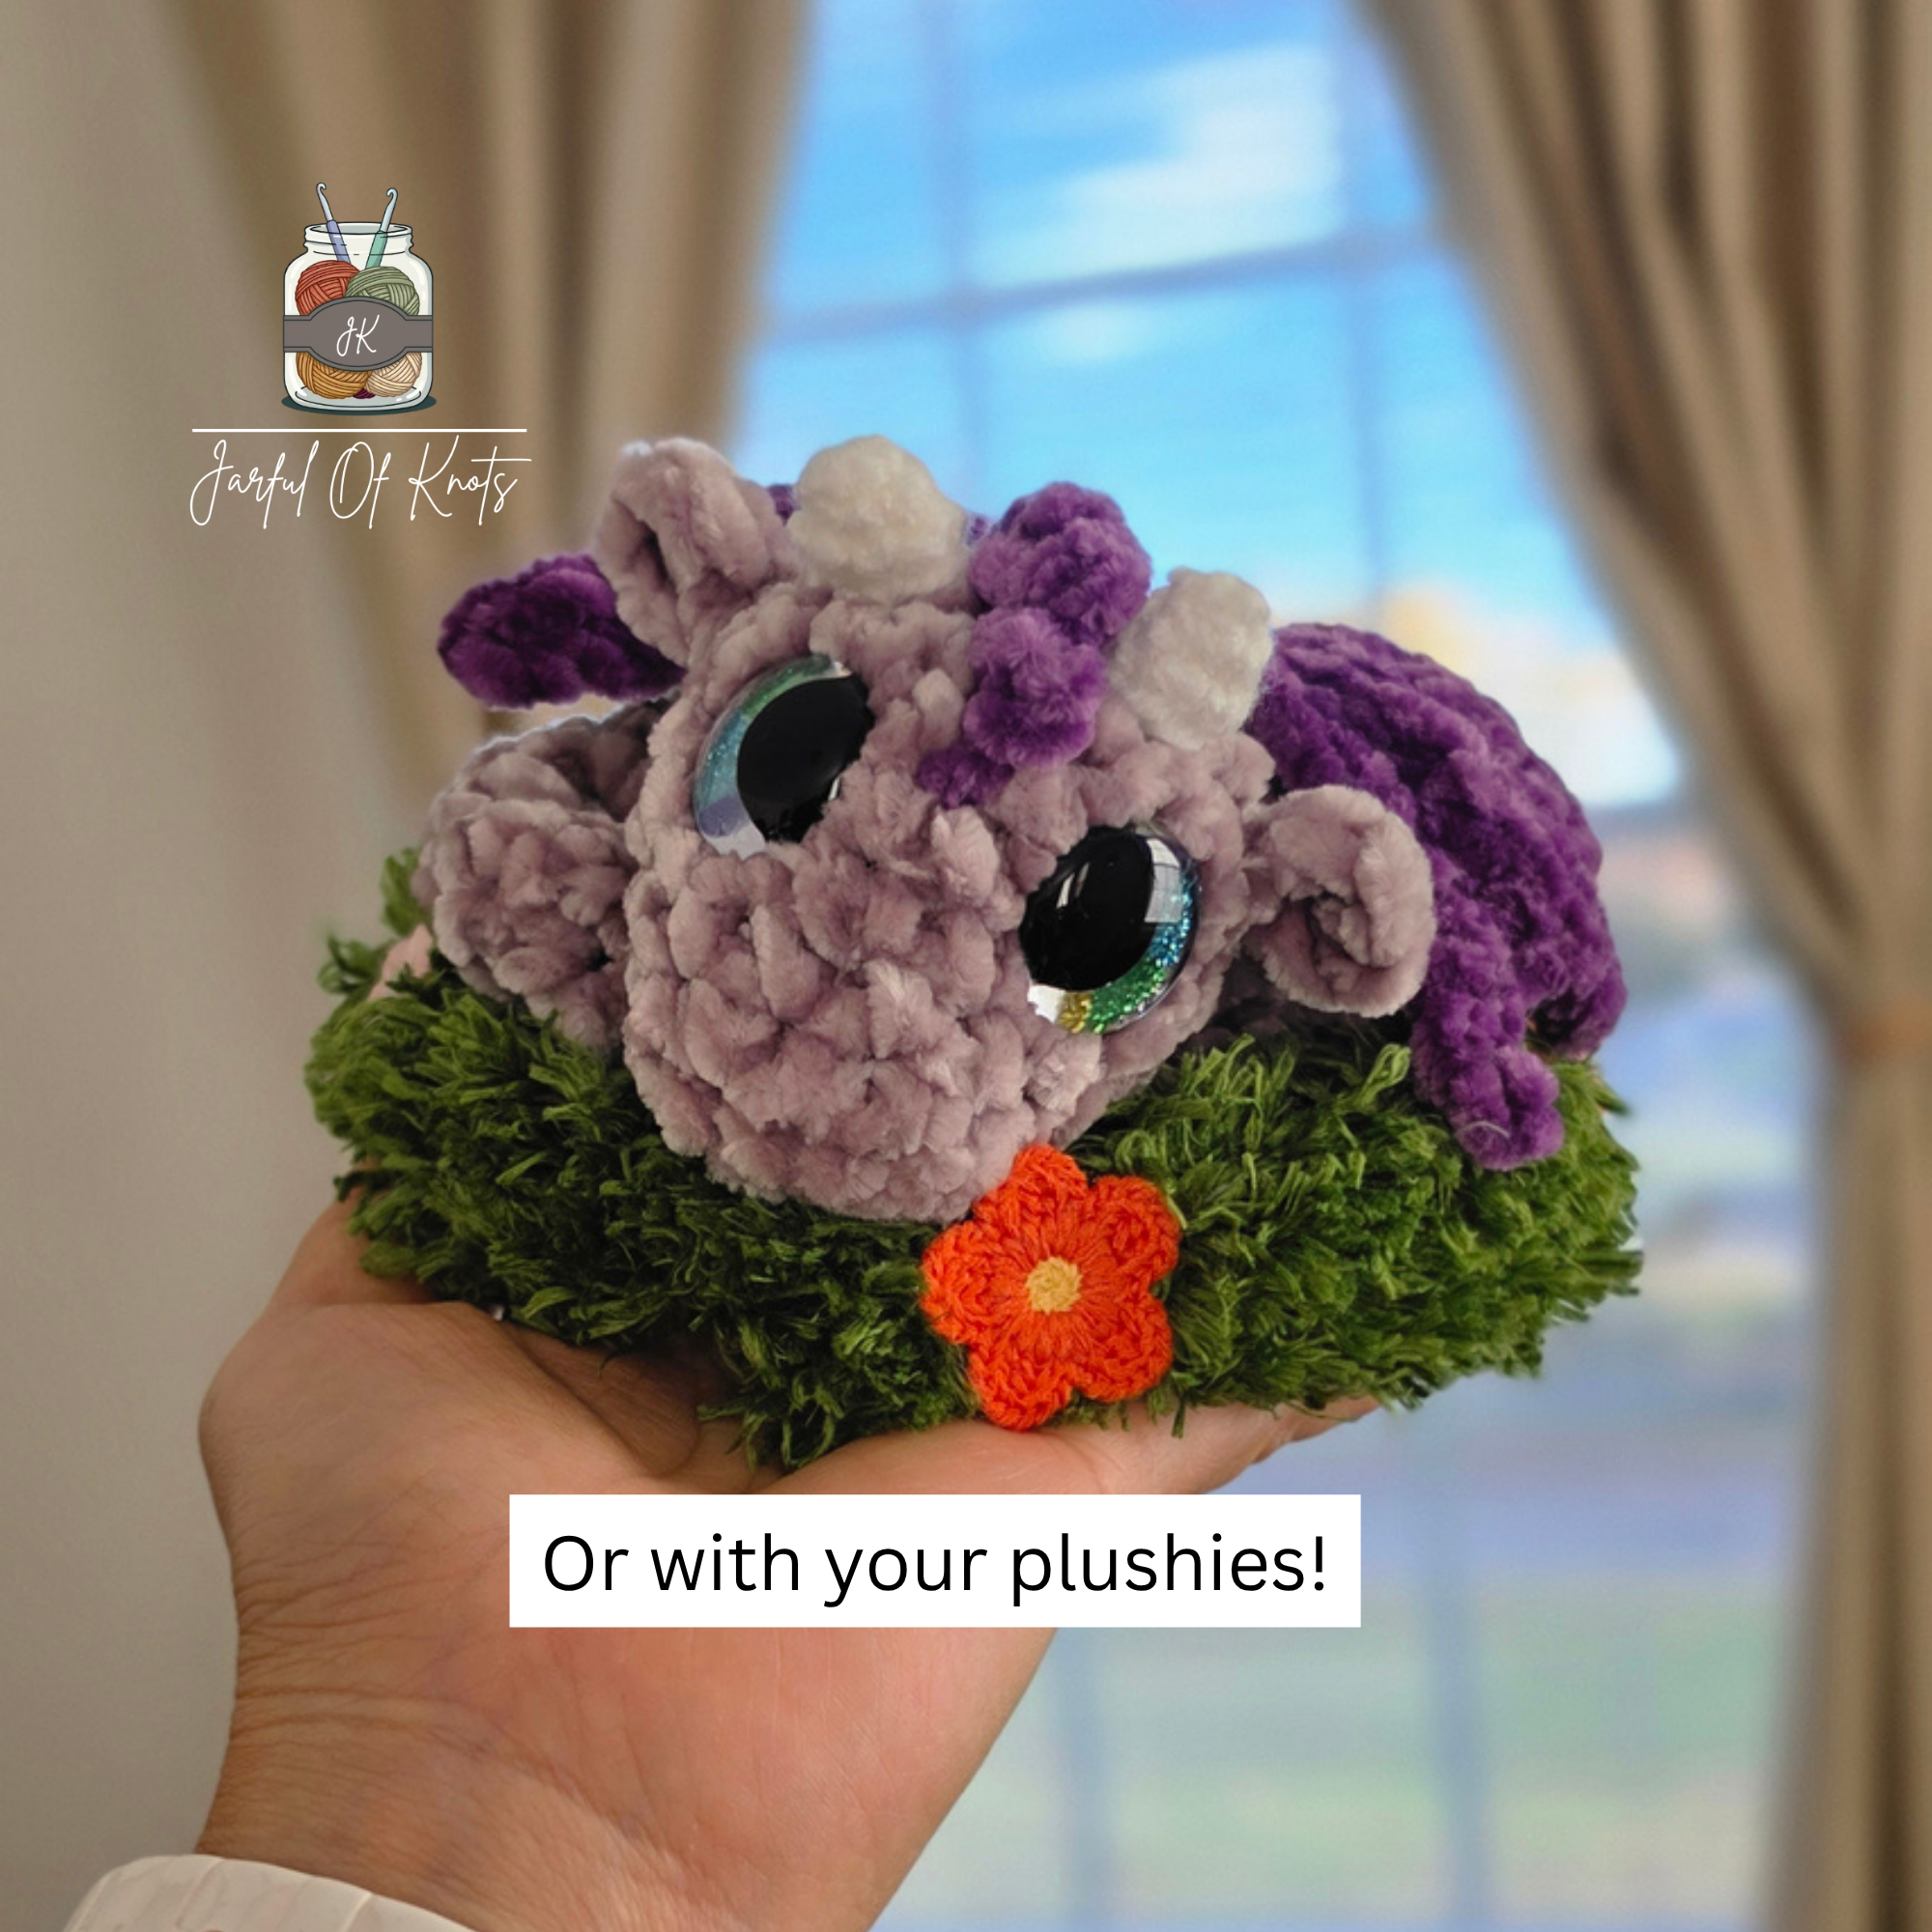
Grassy Bed Pattern & Video Tutorial
Level: Beginner
Time: 20 Minutes (depending on skill level)
Terminology: US
Finished Dimensions: Around 5.5 - 6” x 5.5 - 6”
Recommended Supplies:
Bernat Blanket in Taupe (dark brown)
Premier Basix in Chocolate or Sand would also work well!
Stitch Marker
Yarn Needle
Optional (for embellishments):
Abbreviations & Special Stitches:
CH = Chain
HDC = Half Double Crochet: YO, insert hook into ST, YO, pull through all loops.
INC = Single Crochet Increase
MR = Magic Ring
R = Round
SC = Single Crochet - SC yarn under method is preferred
FO = Fasten Off
YO = Yarn Over
Notes:
The base is worked in continuous rounds then fastened off.
The “grass” is worked in continuous rounds then fastened off.
Grassy Bed Pattern
R1: With brown yarn, work 8SC in MR (8).
R2: [INC] x8 (16).
R3: [SC, SCINC] x8 (24).
R4: [2 SC, SCINC] x8 (32).
FO brown. Tail can be worked into R5 as you go.
R5: With green fuzzy yarn, work a slip knot.
Beginning in the BLO of any ST, pull up loop of green yarn and CH1 (does not count as a ST).
Working in BLO around: SC in same ST as CH1, 39 SC around (40).
R6: Working in the FLO around, 40 HDC, FO and weave ends (40).
Optional:
Take your flower embellishments and hot glue them between R5 & R6 as desired.
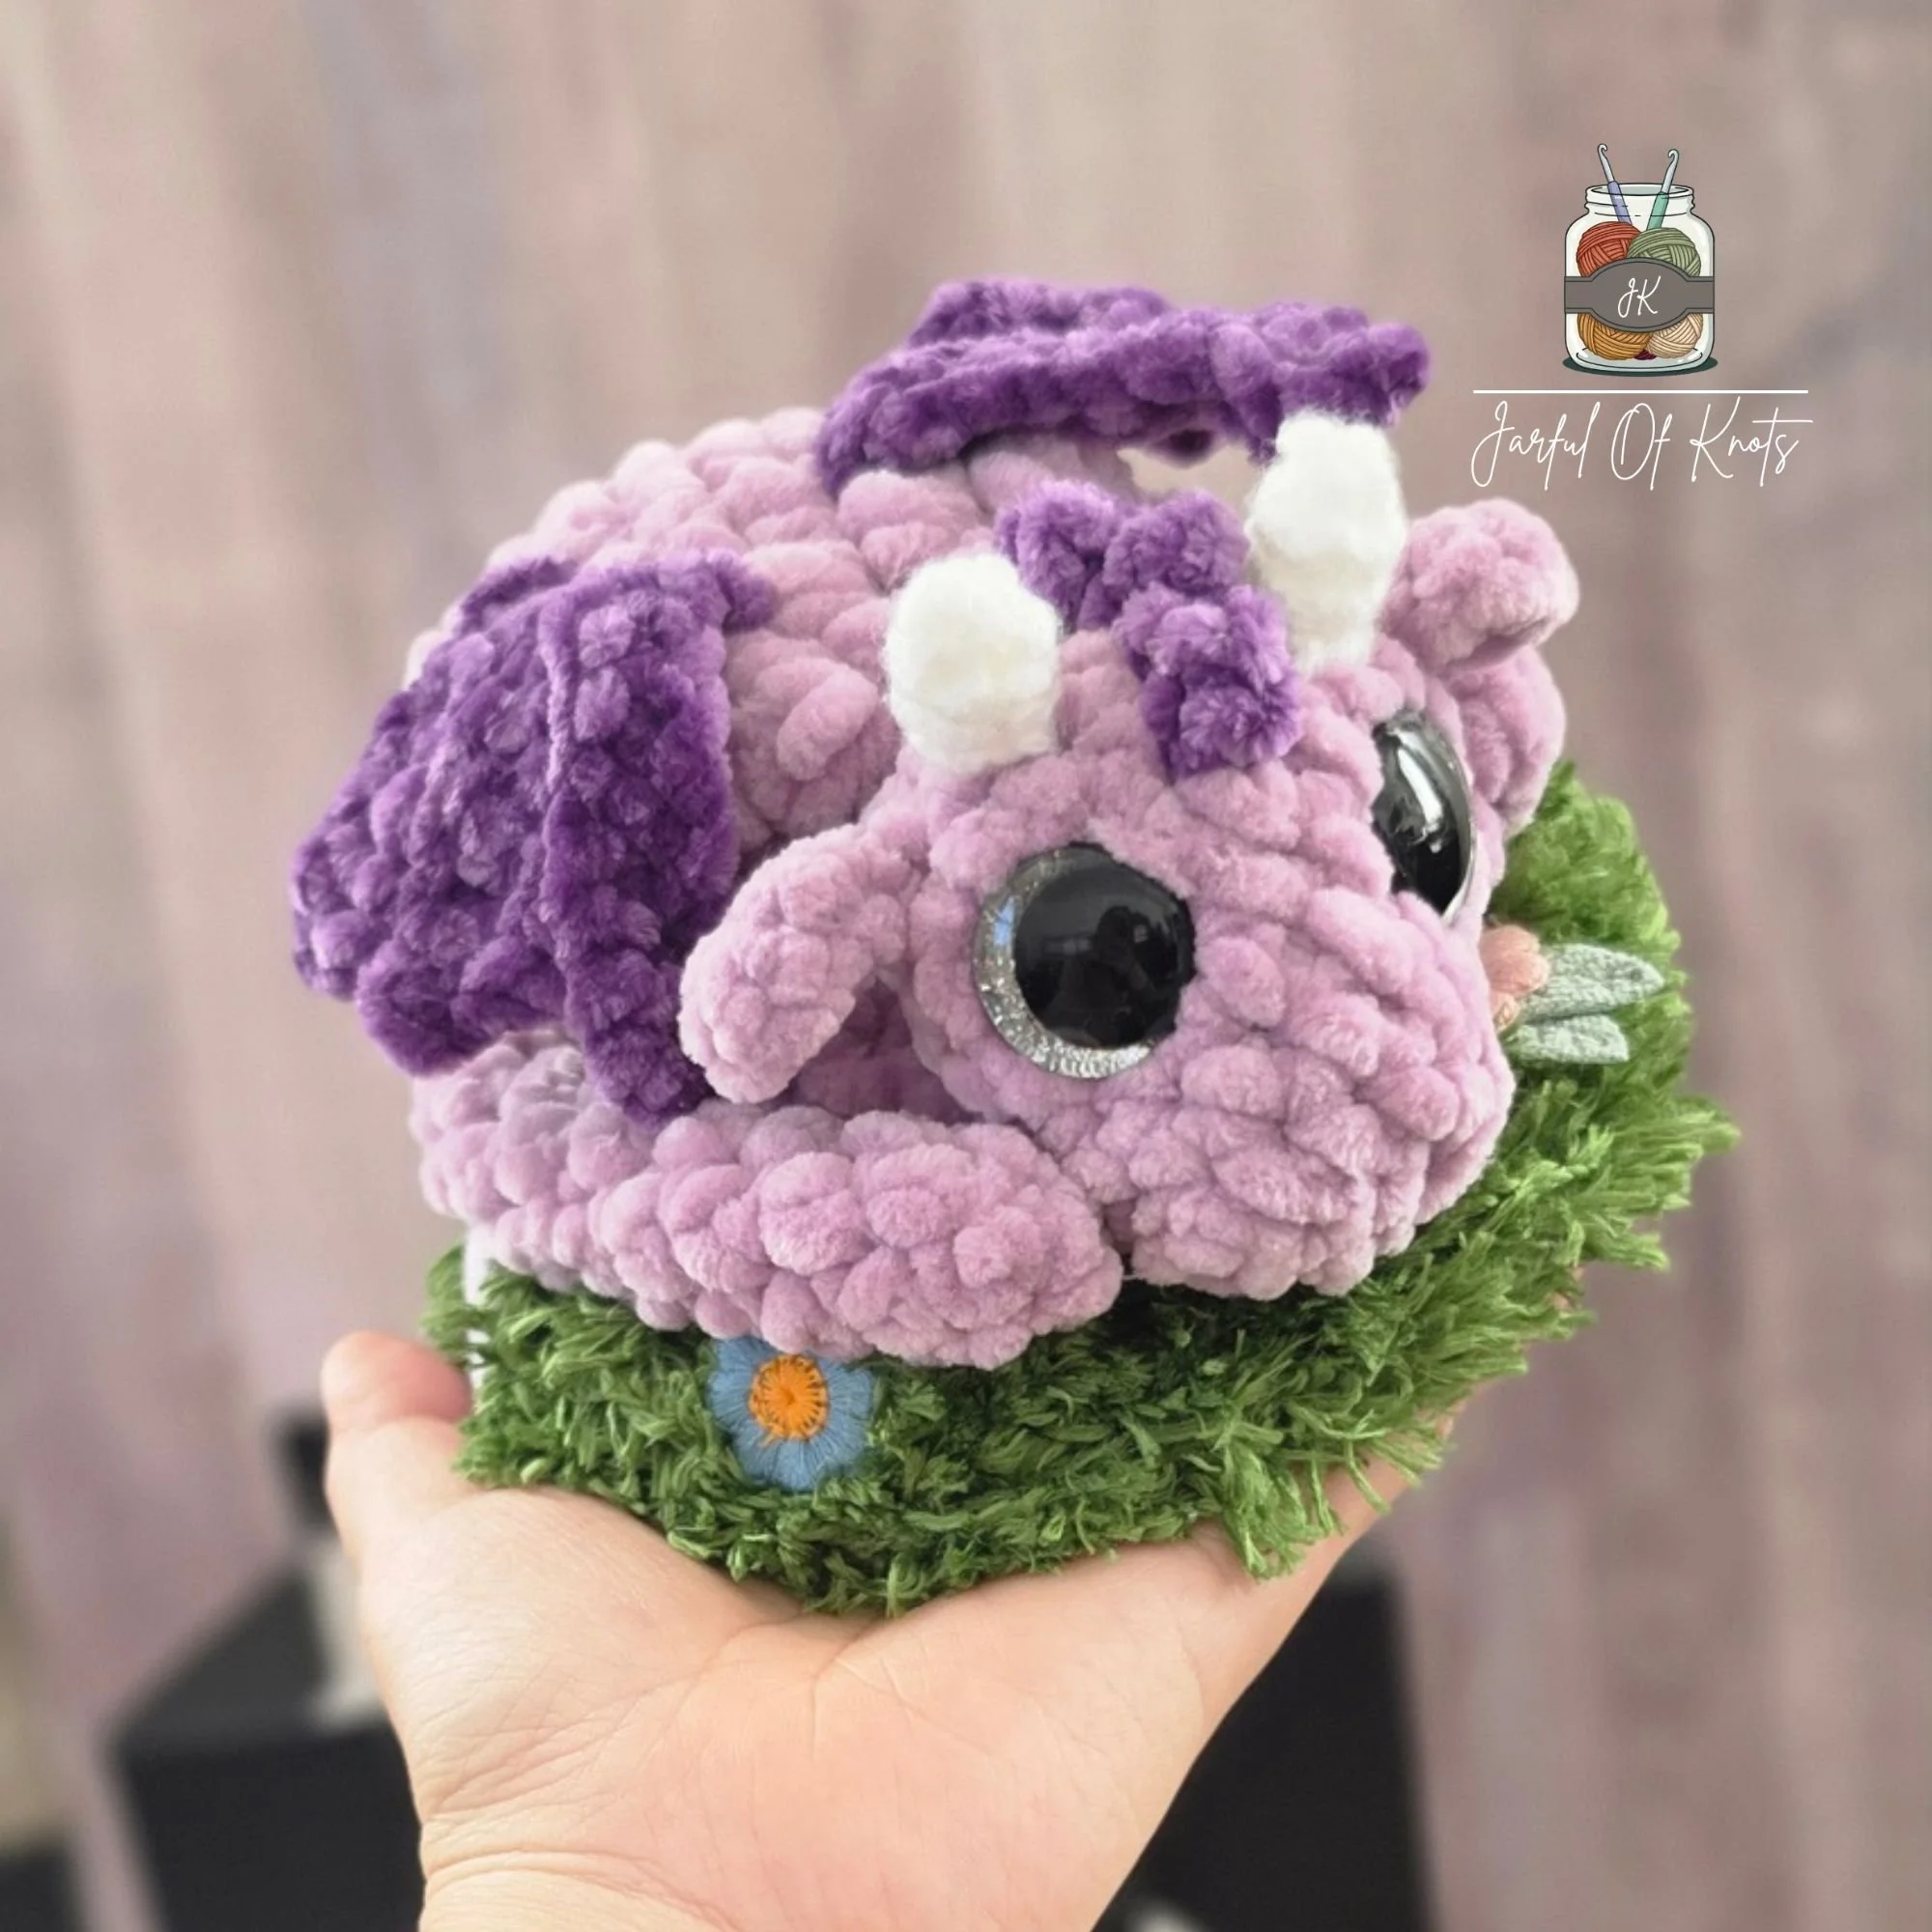
Baby Dragon Pattern Used
I
used the the following pattern for my dragon with some modification:
Pattern = Diddy Dex The Palm Sized Snuggler Dragon from Jodie’s Yarn
Modifications:
Yarn Used: Premier Parfait Chunky (for dragon) & medium worsted (for horns)
Hook size: 5mm (for dragon) & 2.50mm (for horns)
Safety Eyes: 20mm Moon Safety Eyes, Sparkle
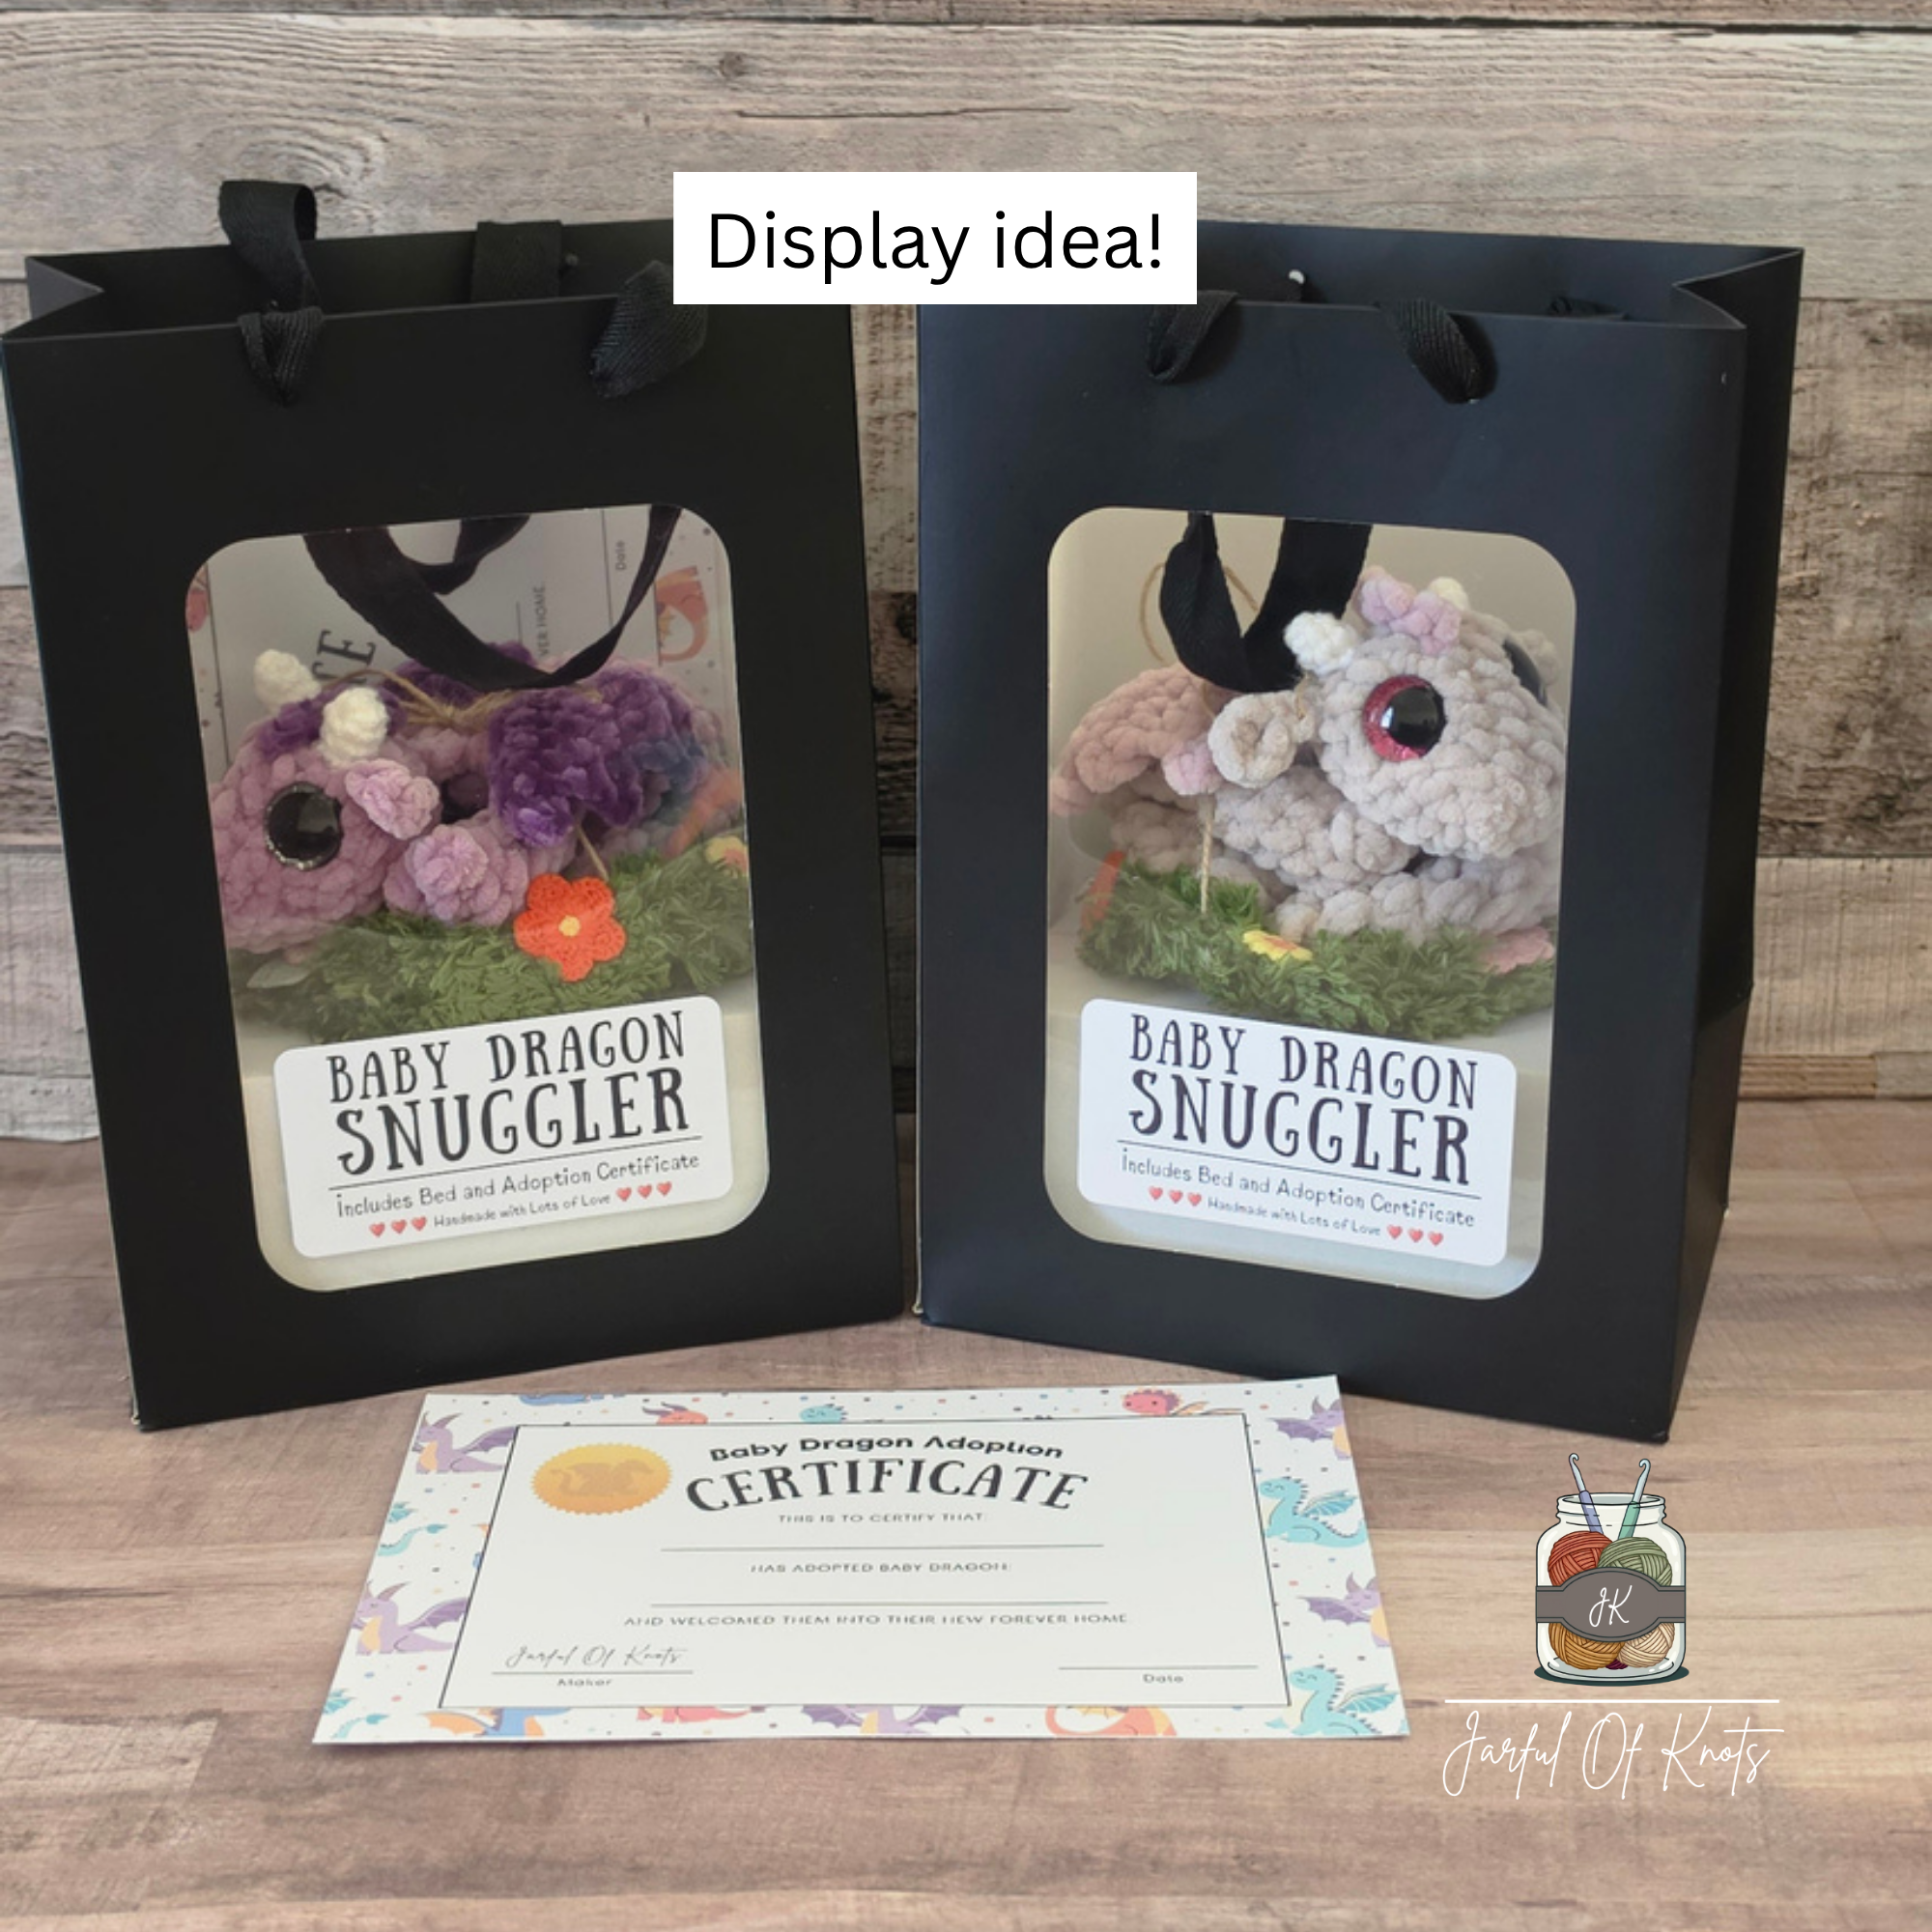
Baby Dragon Snuggler Gift Set
Here is everything I used to make and assemble my Baby Dragon Snuggler gift sets. A demonstration of how I assemble the gift set is at the end of my video tutorial (below)
I used this to prop the dragon up, inside of the gift bag
NOTE: I design my label images in Canva and upload it into the free design software on Avery.com (sign up is required) and it lines up perfectly every time, for any label!
Adoption Certificate (designed using Canva)
Twine to secure the plushie and bed together for display
Please note: The labels and adoption certificate I used here are not available for sale nor download at this time but my hope this post inspires you and gives you ideas :D.
No part of this digital file or pattern may be copied, altered, sold nor redistributed without written consent from the author. However, you may sell the finished products made from this pattern. Please give credit to @JarfulOfKnots as the author/designer and a link to my page: www.jarfulofknots.com; Please refer to our Terms of Service.